Here is a highly anticipated video for teachers: a tutorial to get started with Note, the whiteboard application available on all our Speechi SuperGlass interactive displays. This tutorial provides an overview of the features and basic actions every teacher needs to master in order to deliver their first lesson on an interactive screen with ease.
In this video, aimed at complete beginners for whom the interactive screen is a very new tool, we have included real-life shots to show you the essential gestures needed to interact with the tool.
🎥 Our video tutorial to master the basics of the Note whiteboard (↑)
Changing the background of your board (↑)
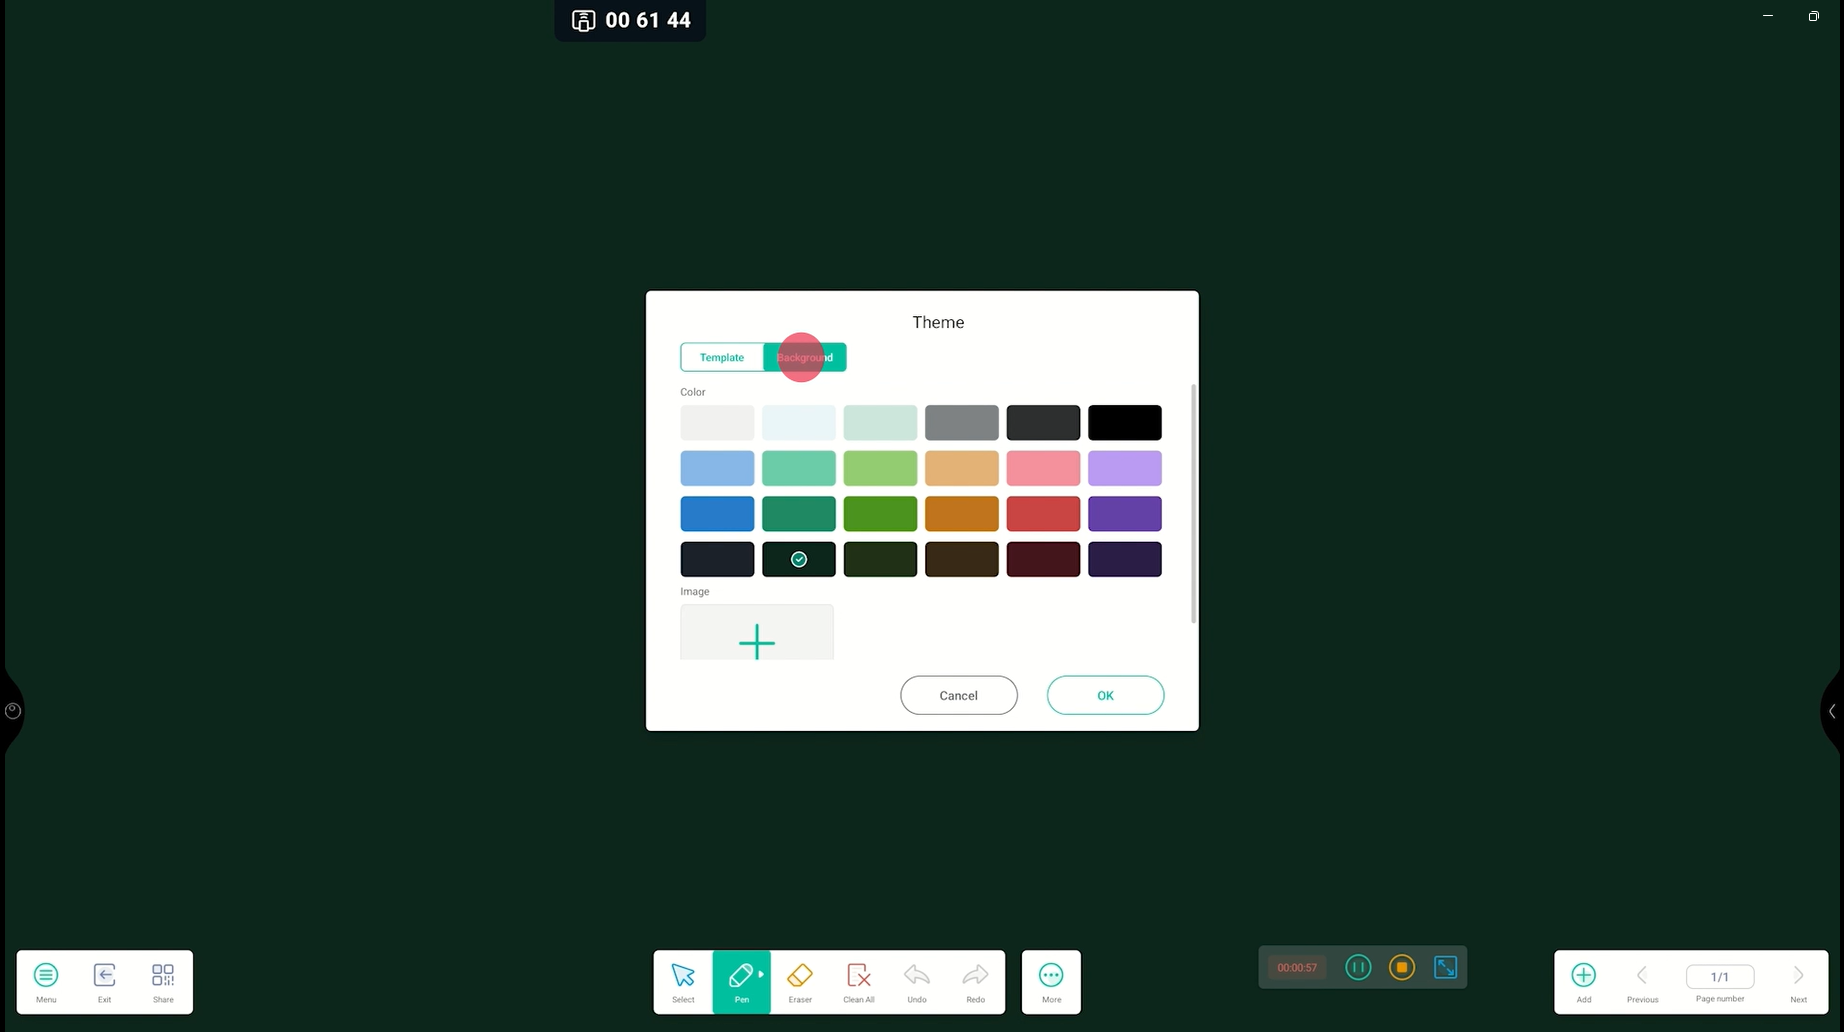
This is probably the first element teachers want to customize on a digital board. By going to Menu > Theme, you can access two types of backgrounds
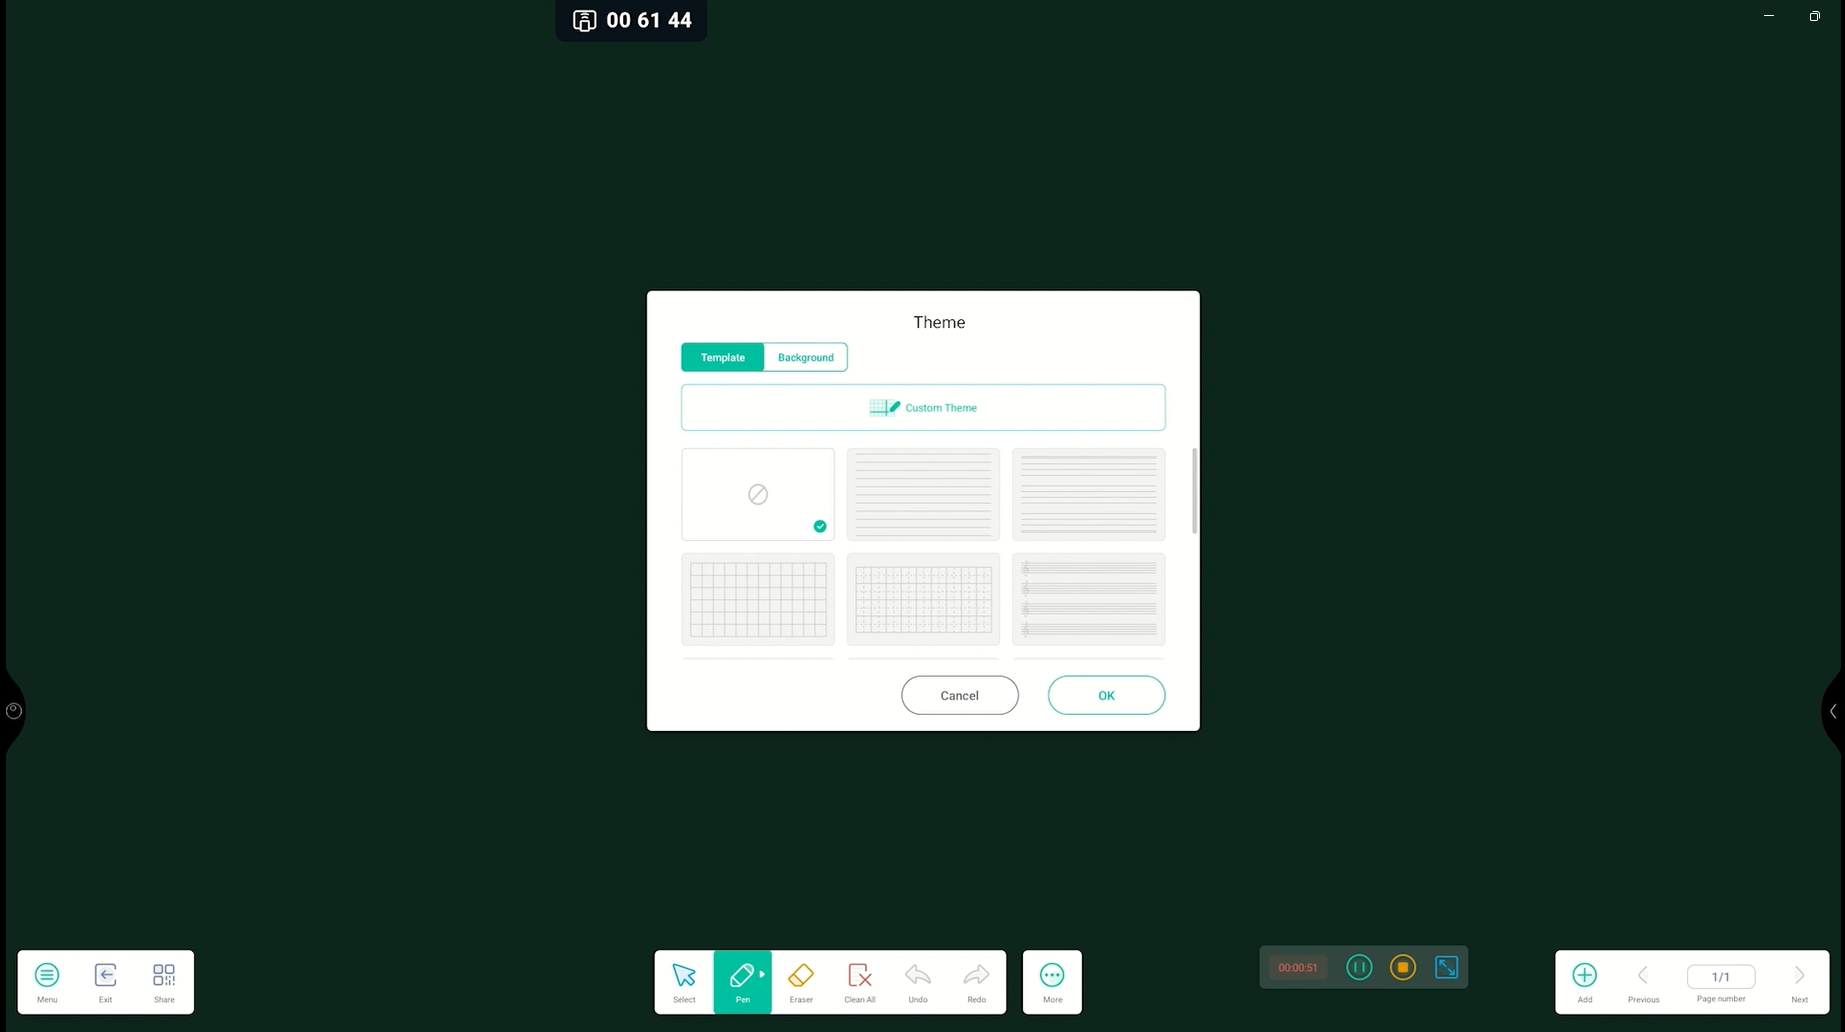
- Themed backgrounds (first tab): including writing lines (very popular in primary schools), musical staves, and sports fields.
- Color backgrounds: such as black (easy on the eyes), white and green (resembling traditional boards), and many other colors.
- You can also import your own custom backgrounds.
Writing on the Note whiteboard (↑)
Writing on the Note whiteboard is very simple: just click the Pen button in the central toolbar and write on the screen using your finger or a stylus.


Go further by accessing writing settings with a second click on the Pen button. This is a very practical feature that saves time!
On the left side of the settings window, you will see 3 tabs corresponding to the 3 writing tools available: finger, fine stylus tip, and thick stylus tip.
For each tool, you can set a different writing style, thickness, and color.
For example, if you want to highlight mistakes in red and write corrections in green without constantly changing settings, assign green to the fine tip and red to the thick tip—just rotate the stylus to switch colors.
Overview of Note writing styles
Let’s take a closer look at all the writing styles on offer, in more detail than in the video:
- The first 3 mimic pencil, marker, and brush styles.
- The 4th assigns an eraser function to your finger or stylus.
- The 5th (AB) activates automatic handwriting recognition.
- The 6th is a drawing recognition tool: draw a sun, for example, and it will suggest multiple sun illustrations to insert.
Erasing on the Note board (↑)
Several ways to erase:
- Gesture (fast and effective): place your fist, the edge, or the palm of your hand on the screen and erase.
- Eraser button (more precise): click the Eraser button in the toolbar and erase with your finger or stylus. A second click lets you adjust its size.
- As mentioned earlier, you can assign the eraser function to your finger or stylus via writing settings.
- Clear all: click the “Clear all” button to erase the entire slide.


Slides (↑)
One of the major advantages of a digital board: you can create as many pages as you want without erasing anything! Slide management is located on the right side.

- Click “+” to add a new slide
- Click “Page number” to view all slides
- Navigate using previews or Previous/Next arrows
Interacting with images on the Note board (↑)
Another major benefit: display images in large size, in color, and high quality—ideal for image analysis in any subject.
Importing images
Go to Menu > Import > IMG. Browse files to select your image. If you have plugged in a USB stick, you will see a dedicated tab on the left-hand side of the File Explorer. If you are using Speechi Connect, simply click on the folder with your name on it to find the images you have previously uploaded to your personal workspace.
Note for Speechi Connect users
To efficiently locate the images and documents you have uploaded to your personal workspace for today’s lessons within the folder bearing your name, please remember to do the following when you log in:
- open the Swift Bar,
- go to the Shared Files tab,
- click on all the documents you wish to use on this screen. They will load into the relevant folder in a few seconds.
Editing images on the board
If you’ve used a tablet, these gestures will feel natural:

Select the image
To edit an image, it must be selected. It is selected when it is surrounded by a green border. If it is not selected, click the Select button in the central toolbar and then click the image.

Moving the image on the board
To move the image, hold your finger or stylus on it and drag it to the desired location.

Resize the image
There are two ways to resize the image:
- Using your index finger and thumb, pinch in or out as shown in the video tutorial. This ensures that the image’s proportions are maintained.
- Drag one of the green handles around the image.

Adjust the image orientation
To change the image orientation, place your finger or stylus on the top green dot and drag it in the desired direction.
Inserting a PDF (↑)
Displaying the exercise sheet handed out to pupils, an extract from a text to be studied, or a page from a textbook directly on the screen is an essential part of teaching on an interactive whiteboard.
It couldn’t be simpler: click on Menu > Import > PDF. Select your PDF document from the screen’s file explorer and click OK. Each page of your PDF document will be displayed on a slide. To find out how to locate your documents in the file explorer, please refer to the section ‘Importing images’.
Handwriting recognition (↑)
With handwriting recognition, you can convert text written freehand on the screen into typed text. This is a useful feature for making your notes clearer for your students. The video demonstrates two methods:

The first method involves writing your text freehand, selecting it, and then clicking the Smarwrite button in the context menu that appears. This is the best option if you only intend to use it very occasionally.

The second method involves going into the writing settings and assigning the AB tool – which is the Smarwrite tool – to your finger or to one of the two nibs on your stylus. This method is recommended if you use it all the time.
Shape recognition (↑)
With the shape recognition feature, draw freehand shapes that are transformed into perfect geometric shapes! Click the More button to the right of the central toolbar, then click Shape, and finally click the button showing a hand drawing a shape.

3 tools (↑)
Let’s round off this overview of the basic features of the Note whiteboard with three handy tools that teachers find particularly useful; you can find them all by clicking the ‘More’ button.

Table
Cell size adjusts automatically.

Mind map
Mind map includes handwriting recognition.

Pair mode
The Pair mode divide the board into 2 to 6 zones.

Published on March 18, 2026