


What is the BYOM PRO Speechi?
The BYOM PRO – short for Bring Your Own Meeting – gives you control over your meeting room’s videoconferencing system by allowing you to manage it directly from your PC. Control the interactive screen, the videoconferencing camera, and the microphones from your workstation to share your screen or start a video conference.
Table of Contents
- Diagram: How the BYOM PRO Works at a Glance
- Tutorial: Installing the BYOM PRO Speechi (Video)
- In the Box
- Step 1: Connections to the Interactive Display
- Step 2: Connections to the BYOM PRO
- Step 3: On the Interactive Display
- Step 4: Pairing the Transmitter and the Receiver
- Step 5: On Your PC / Tablet / Smartphone
Diagram: How the BYOM PRO Works at a Glance

The BYOM PRO consists of a transmitter box and a small receiver.
- The transmitter box connects to all the devices in your videoconferencing room (interactive display, camera, microphones, etc.).
- The small receiver connects to your PC.
Once the connections and pairing are completed, the transmitter relays control of the room’s videoconferencing system to your PC.

- (1) Transmitter Box
- (2) 4 Antennas
- (3) Small Receiver

- Power Cable

- HDMI Cable

- USB TOUCH Cable
Step 1 : Connections to the Interactive Display _ _↑
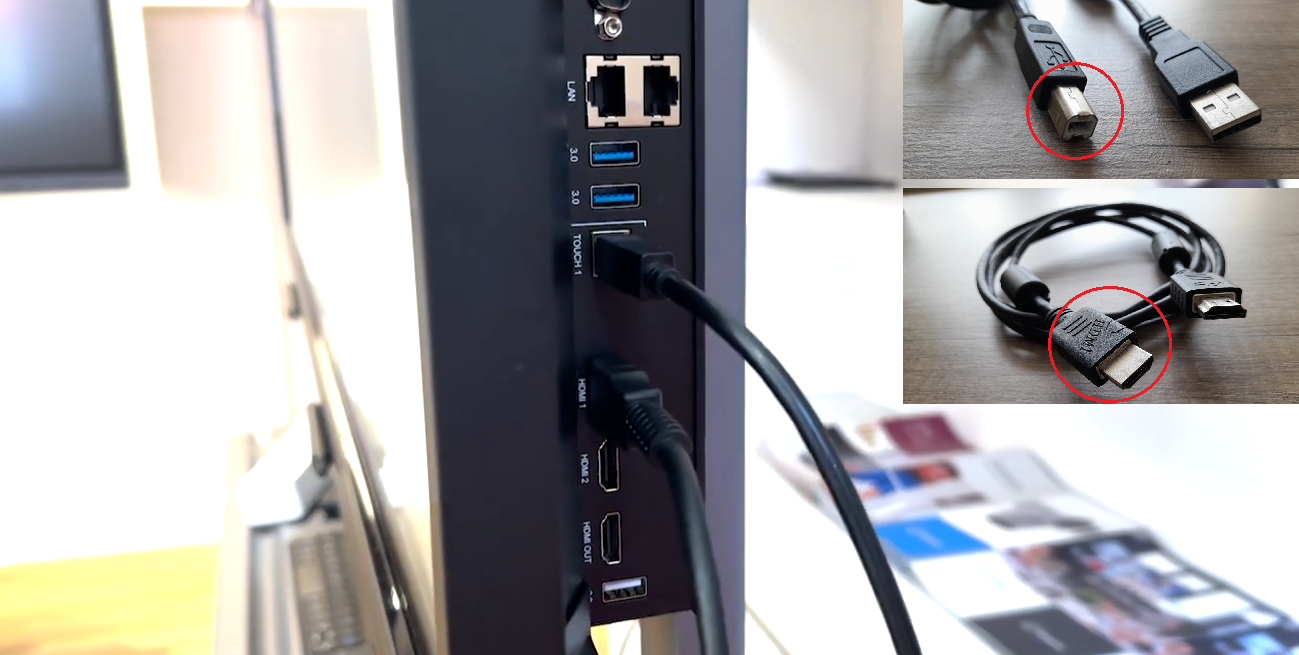
1/2 Connect the supplied HDMI and USB TOUCH cables to your interactive display.
Note 1 : HDMI and USB TOUCH ports are usually on the right side of the screen, as shown in the image above.
Note 2 : The HDMI cable transmits the image, while the USB TOUCH cable enables touch functionality.

2/2 Connect your videoconferencing camera to a USB 3.0 port on the screen.
Step 2 : Connections to the BYOM PRO_ _ ↑

1/4 Plug the power cable into your BYOM PRO box, then connect it to a power outlet.

2/4 Connect the USB TOUCH cable to the USB 3.0 port on the front of the BYOM PRO box.

3/4 Connect the HDMI cable to the HDMI OUT (main) port at the back of the box.
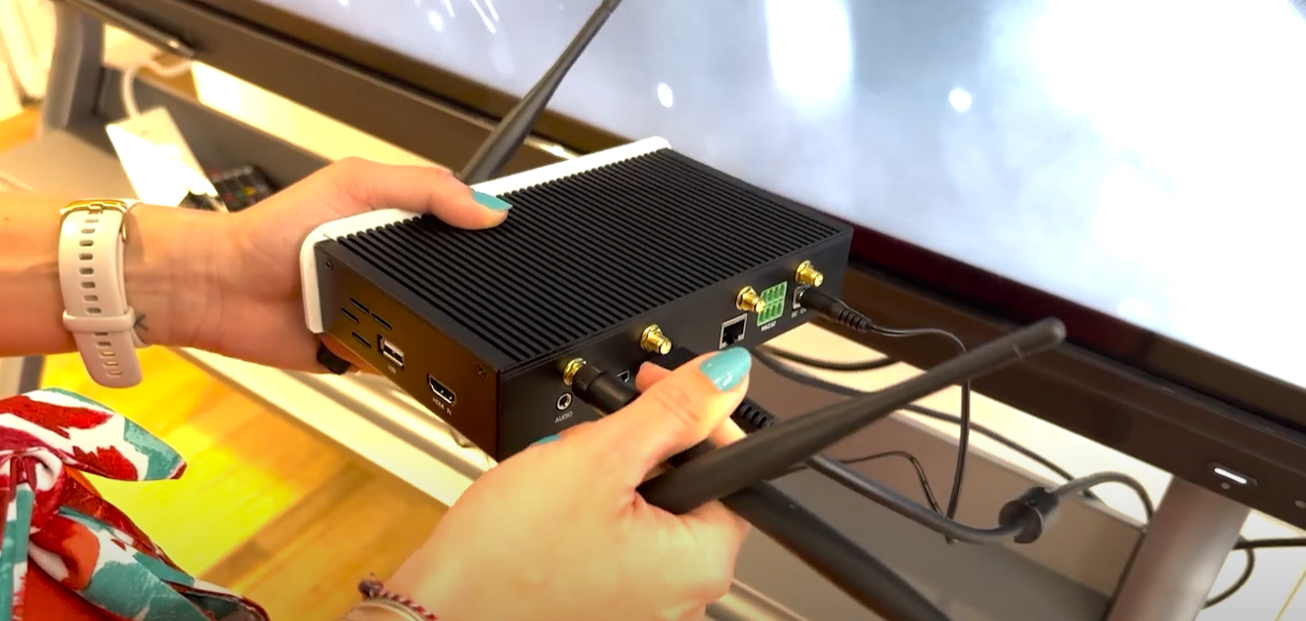
4/4 Screw the les 4 antennas onto the back of the box.
Step 3 : On the Interactive Display _ _↑

1/3 Open the source panel of the interactive display.
To do this, swipe up from the black bottom strip of the screen.

2/3 In the source panel, click on the corresponding HDMI source.
Multiple HDMI sources are available. To find the correct one, check the HDMI port number on the side of the screen (HDMI 1, 2, 3, etc.) or look for occupied ports in the source panel (indicated by a blue dot).
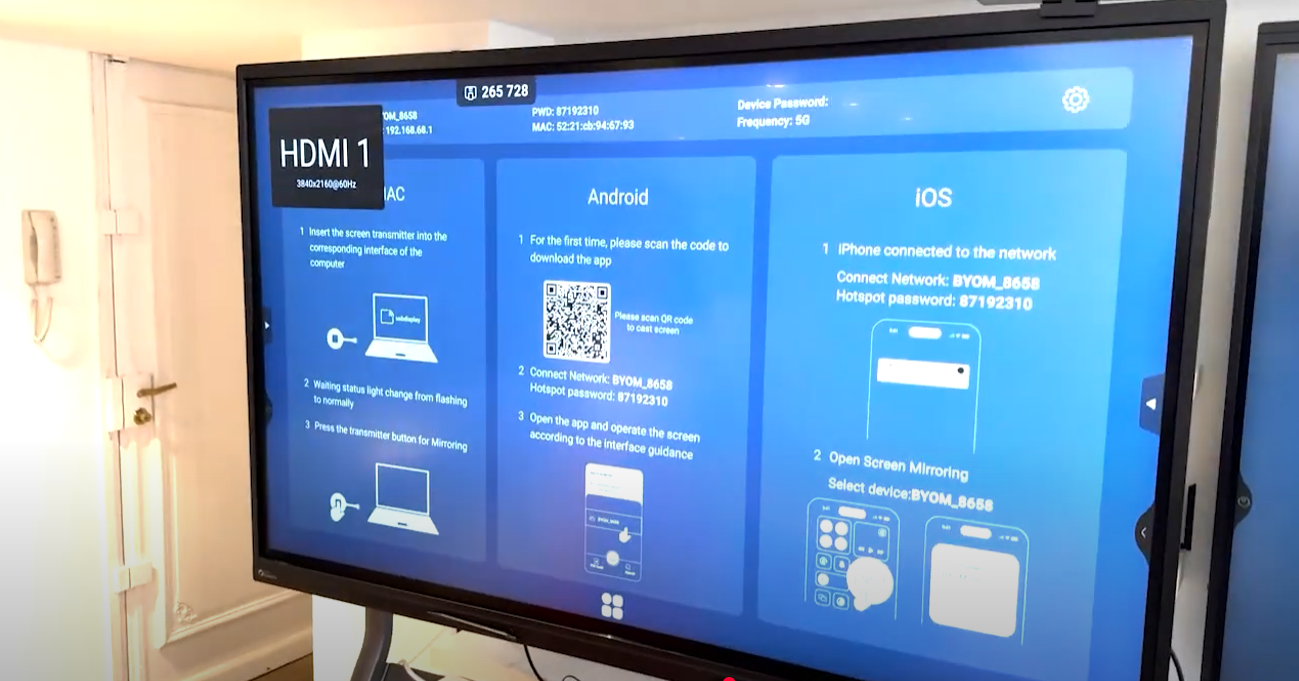
3/3 An explanatory page appears displaying three possible scenarios depending on the type of device you wish to share the screen from.
Step 4 : Pairing the Transmitter and Receiver _ _↑
1/3 Attach the provided USB-C to USB-A adapter to the small transmitter.
2/3 Connect the transmitter to the box via the USB 2.0 port on the front.
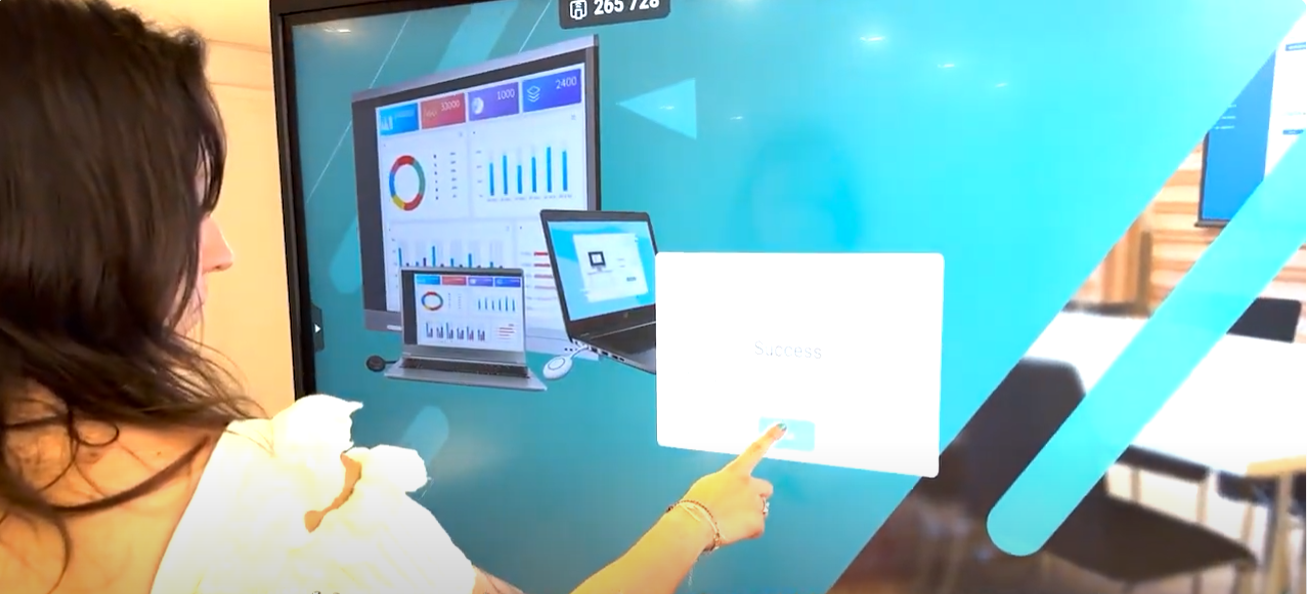
3/3 The pairing process will start automatically. Wait for the confirmation message.
Step 5 : On Your PC / Tablet / Smartphone _ _↑
1/4 . Remove the transmitter from the box.
. Remove the USB adapter from the transmitter.
. Connect the transmitter to the USB-C port of your device.
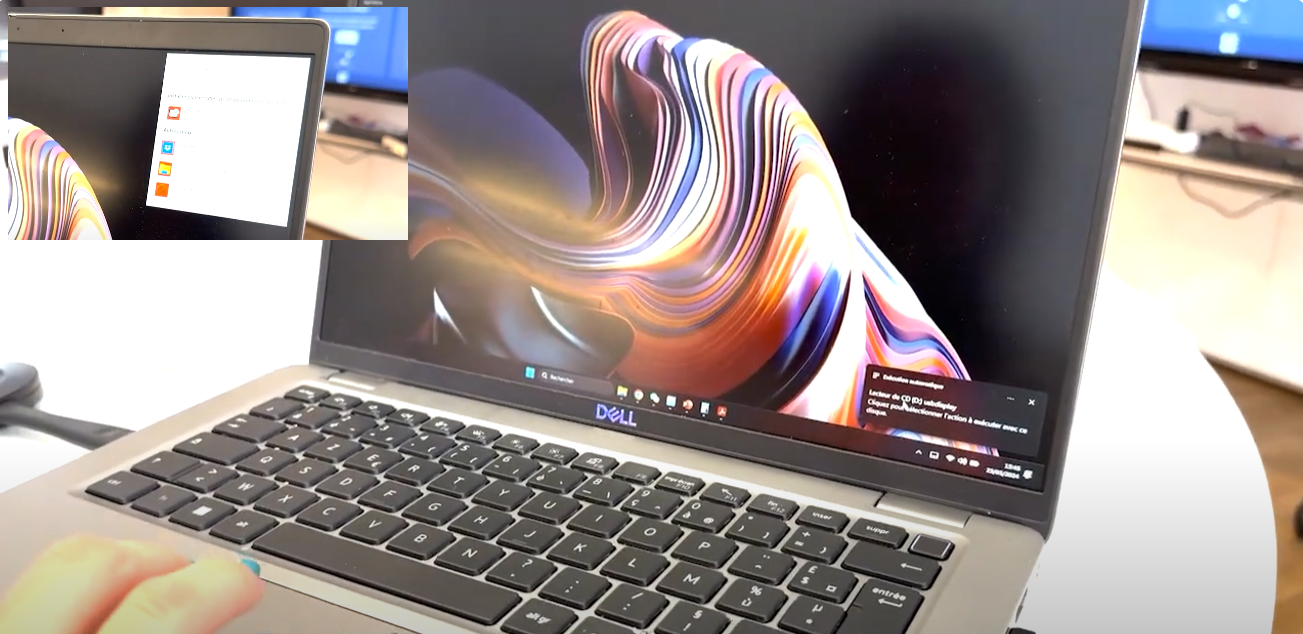
2/4 A message will appear: run the program that launches on your computer.
3/4 Press the button on the transmitter: the LED turns blue.

4/4 Test the recognition of your peripherals, for example, using the Windows Camera app.
Your BYOM solution is now ready to use!
Documentation
Posted on 3 April 2025