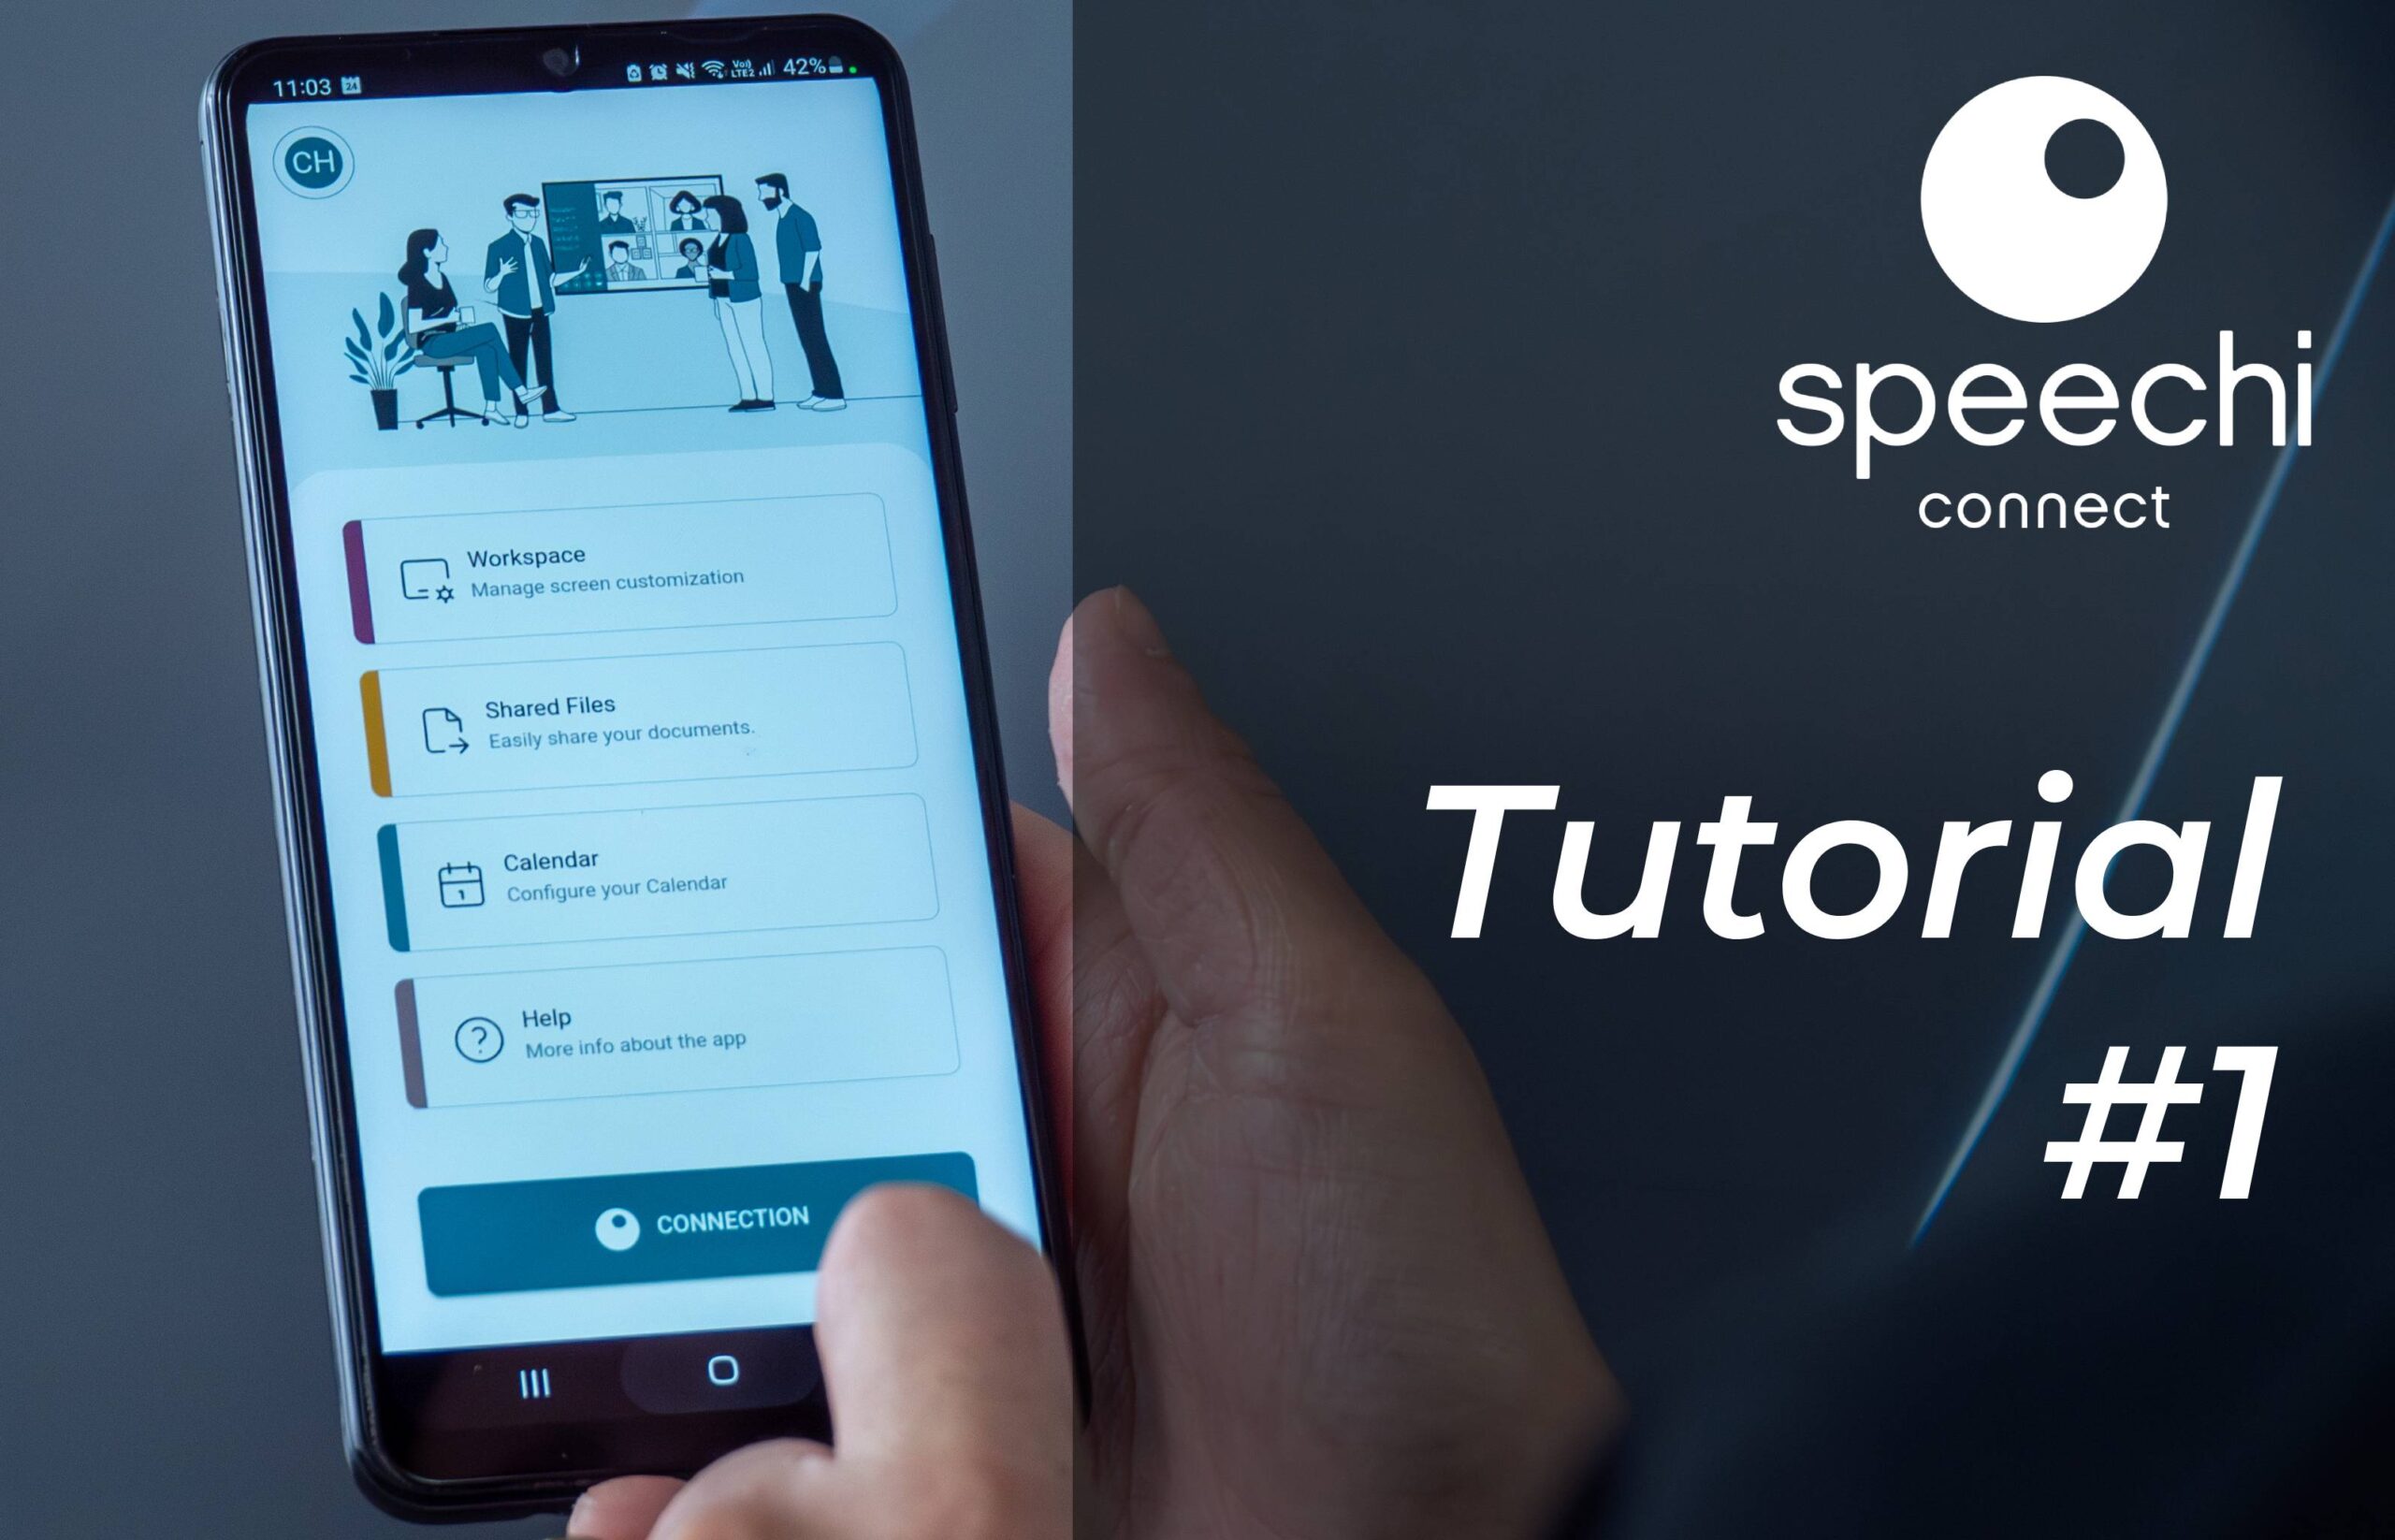
Welcome to Speechi Connect!
Your company or school has just activated Connect on its fleet of Speechi interactive displays and has invited you to become a user of its organization… Congratulations, a whole new experience with the Speechi interactive display is now open to you!
In this first tutorial, we will show you how to make your use of the Speechi screen a personalized experience in three steps.
- Step 1: Logging into My Speechi Connect Space
- Step 2: Personalizing My Speechi Workspace
- Step 3: Accessing My Workspace on a Speechi Interactive Display
Step 1: Logging into My Speechi Connect Space
Whether you want to log in from a PC, smartphone, or tablet, it doesn’t matter! Speechi Connect adapts to your way of working, available on PC via a web-accessible SaaS platform, as well as on smartphones or tablets through an app.
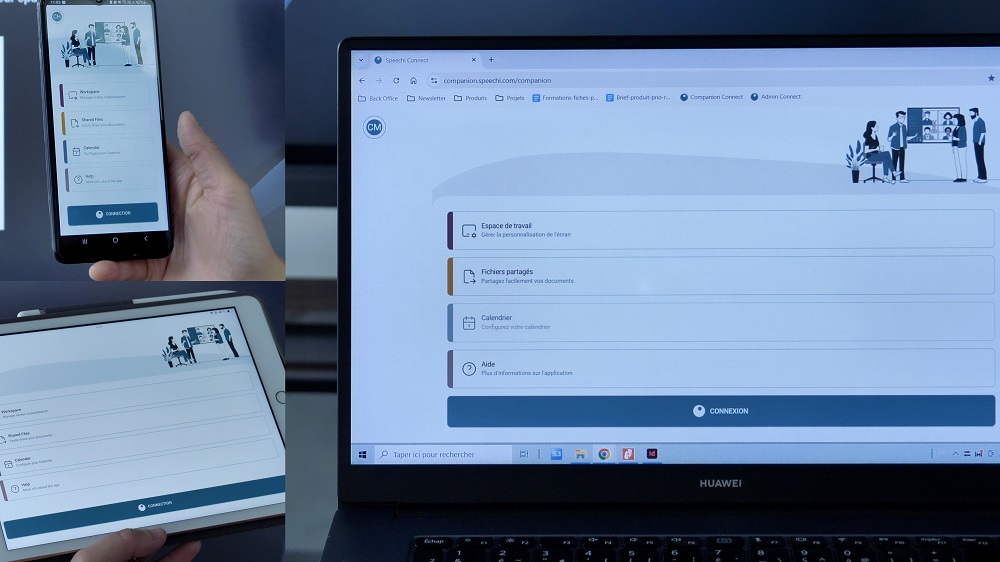
- If you prefer using a PC, go to the website https://companion.speechi.com/login and log in.
- If you prefer a smartphone or tablet, download the Speechi Connect app, launch it, and log in.
Step 2: Personalizing My Speechi Workspace
To create a workspace that reflects you, everything happens in the first tab, “Workspace.” Click on the “Workspace” button and follow the three steps outlined below.
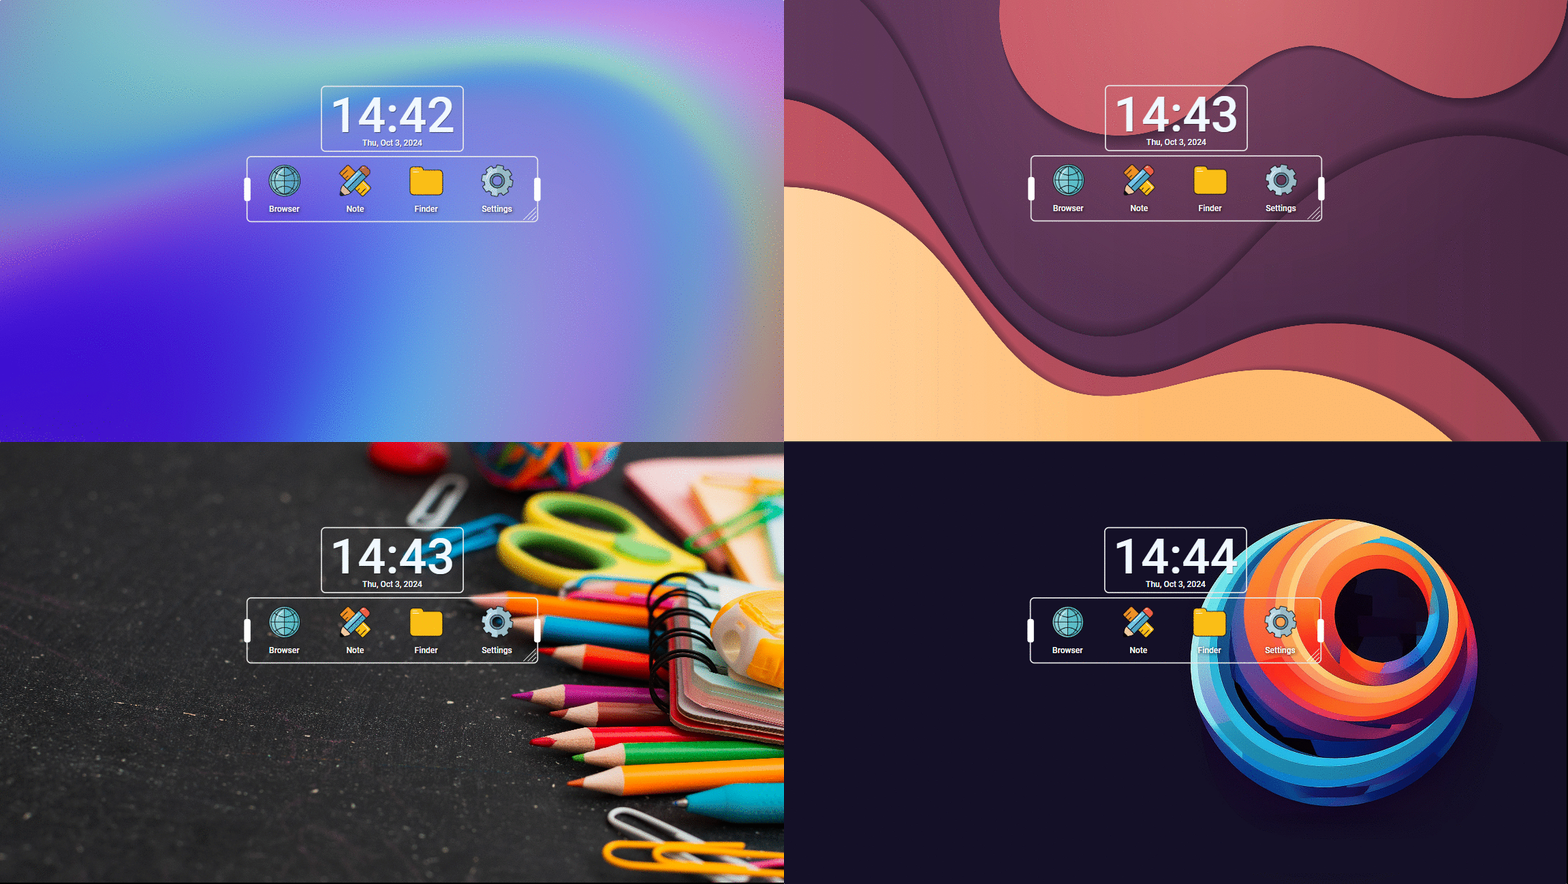
1. Choose your wallpaper from the options available.
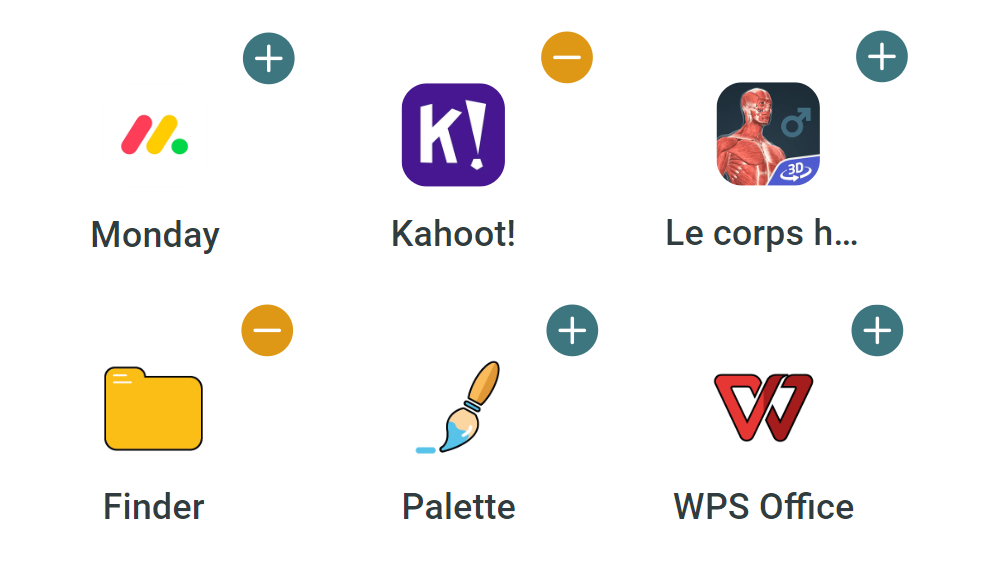
2. Check the applications you want to integrate into your space.
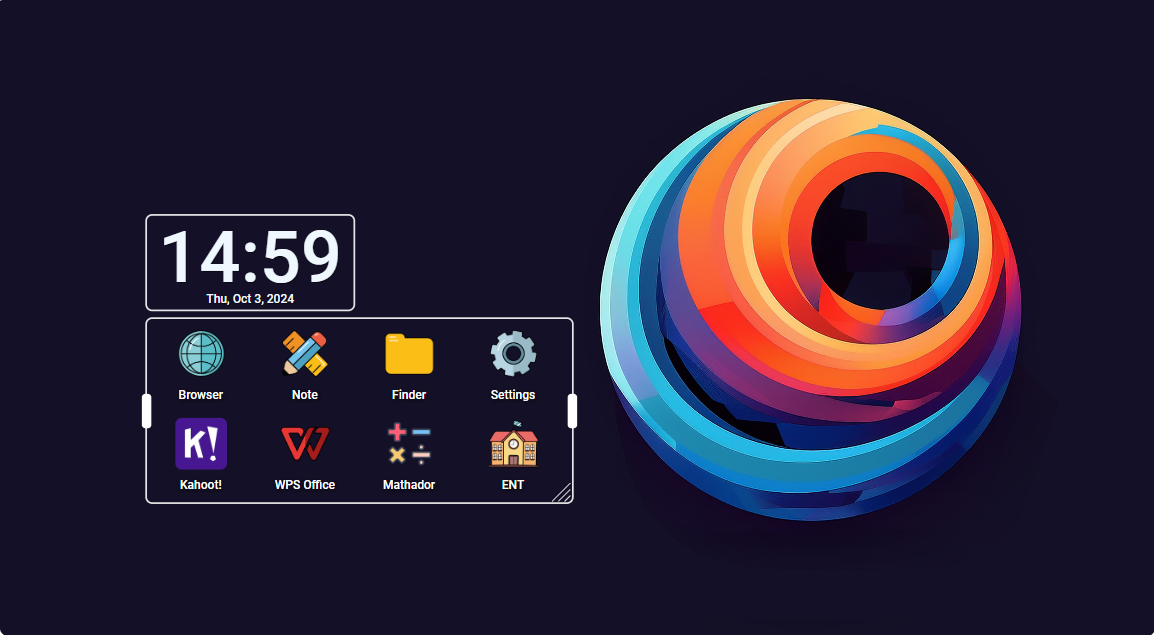
3. Change the position of the apps on your wallpaper.
Save your changes; your personalized space is ready!
Controlled and Managed Personalization
If you can’t find a wallpaper to your liking or if you don’t see the apps you need to work on the Speechi screen, you’ll need to negotiate with the person responsible for managing your organization’s fleet of screens. They hold the reins and decide what will be available to Connect users in their organization to customize their workspace while ensuring the security of the screen fleet.
Step 3: Accessing My Workspace on a Speechi Interactive Screen
Now, let’s see how to turn any Speechi interactive screen in your organization into your working screen in just a few seconds.
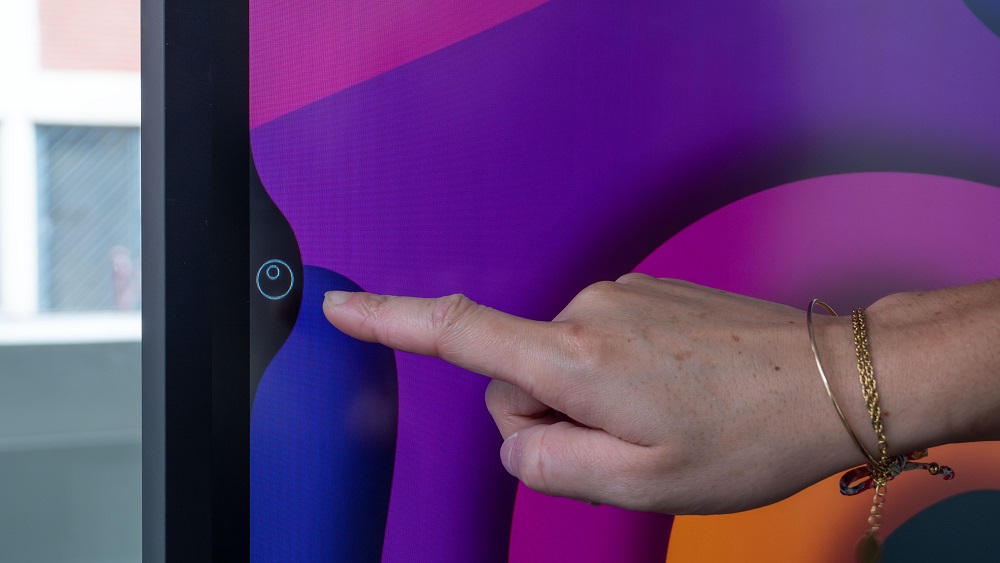
Display the login QR code. If you haven’t done so already, open the Swift Bar on the Speechi screen by clicking on the Connect button, as shown here.
You should immediately see a login QR code, as shown below. If not, scroll through the different panels of the Swift Bar until you find the one we’re interested in.
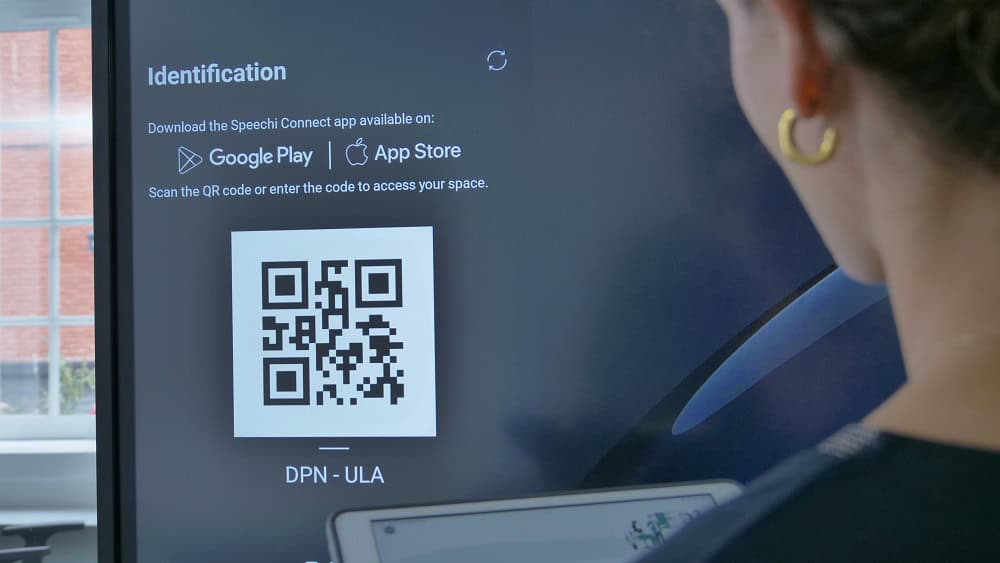
The Swift Bar is a sidebar that provides access to the essential features of Connect:
- The login QR code shown here,
- Your shared files,
- Your agenda,
- Plus the widgets activated by the admin (weather, WiFi connection information, etc.).
Two connection methods are available to access your personalized workspace on the interactive display. Again, you can choose your device.
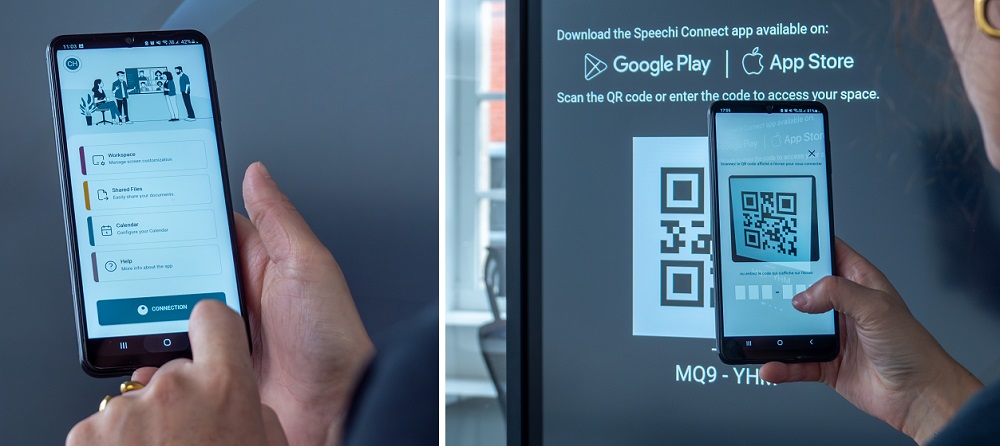
To connect using your smartphone (or tablet), open the Connect app, click on “Connection” and scan the QR code on the screen.
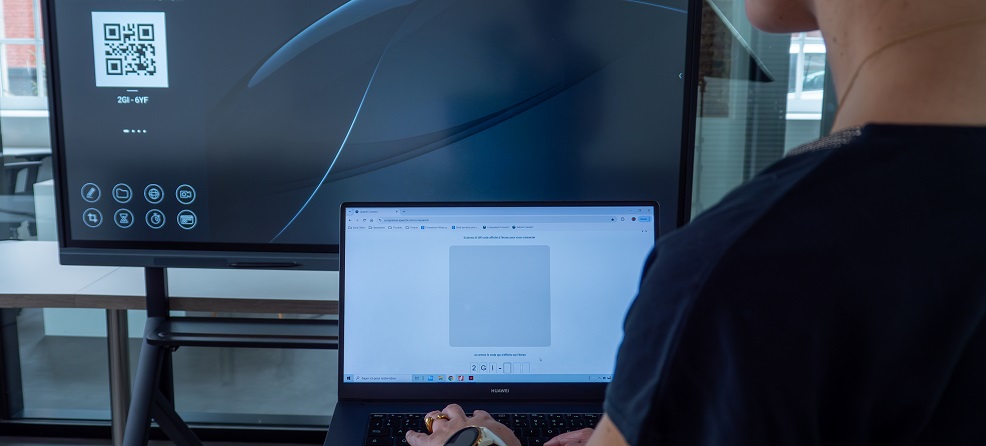
To connect using your PC, log in to your Connect platform, click on “Connection” and enter the code displayed under the login QR code on the screen.
A few seconds later, your personalized workspace with your wallpaper and apps will appear on the Speechi screen.
To be continued…
Our upcoming tutorials:
- I share my files on the interactive display via my Connect space
- I retrieve what I’ve done on the Speechi display to my Connect space
