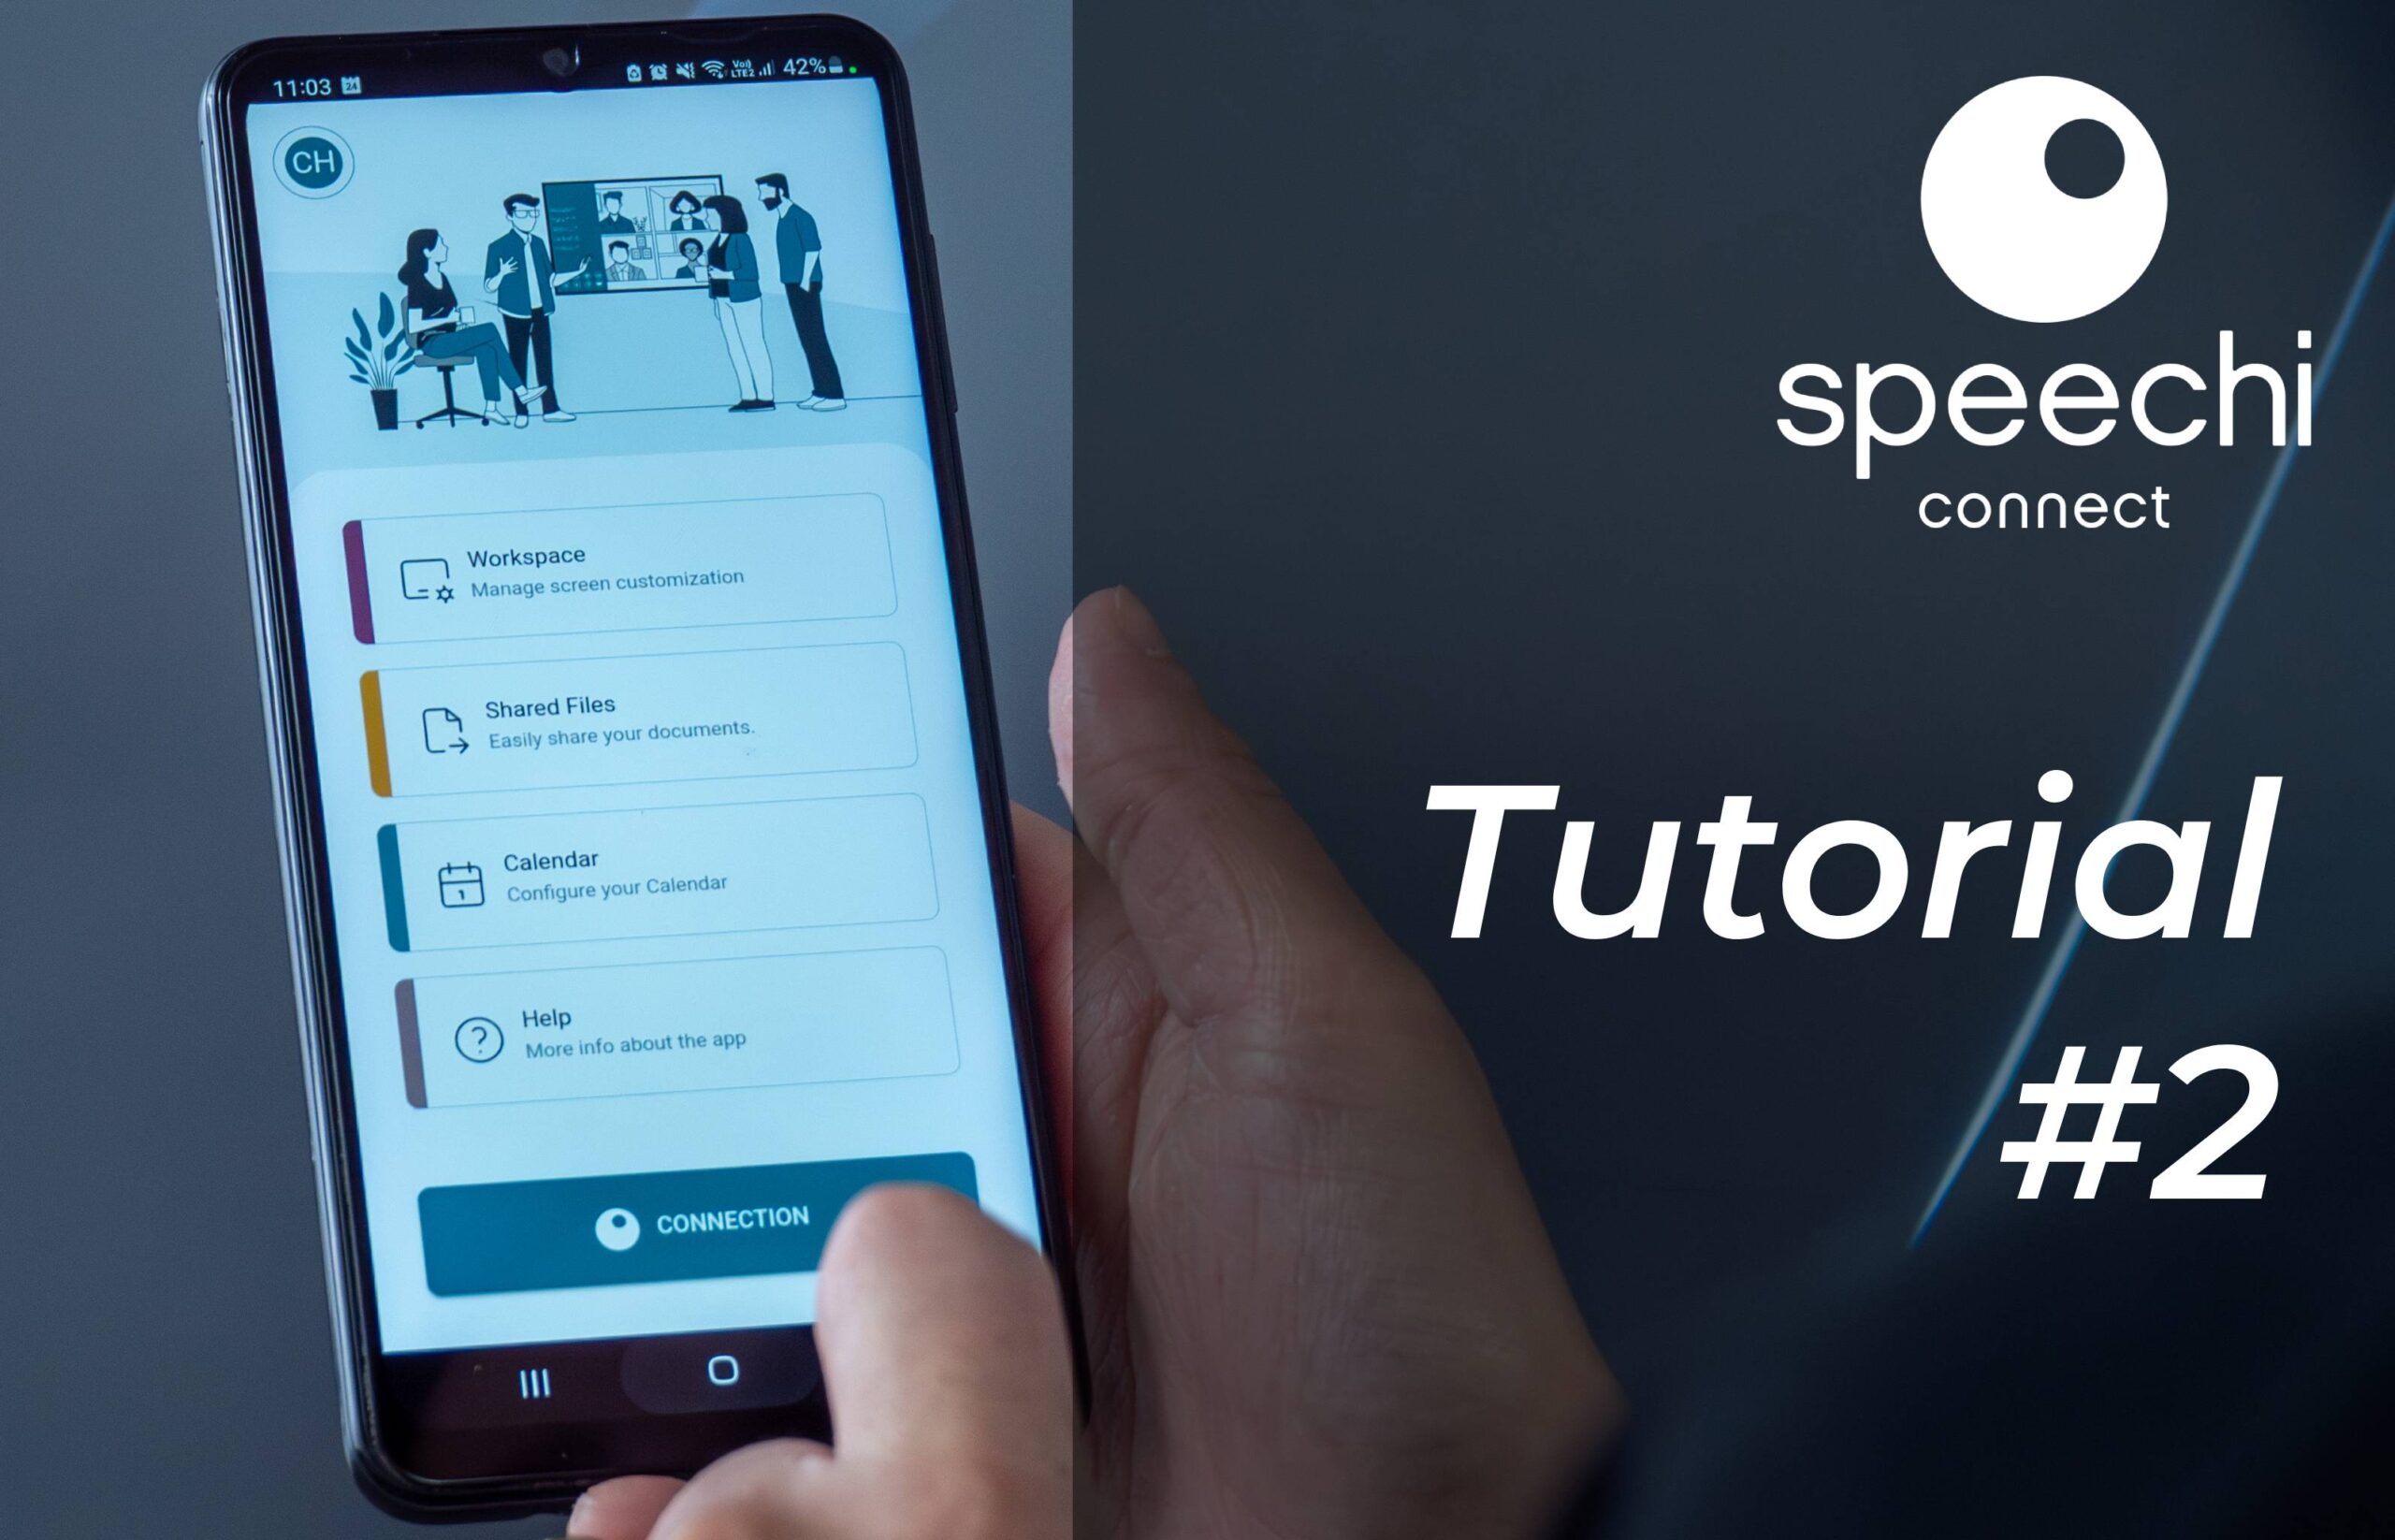
Let’s continue our exploration of Speechi Connect and the personalized experience it offers with a second tutorial explaining how to share and display your files on any interactive display in your company or school.
- Step 1: Log into My Speechi Connect Account
- Step 2: Upload My Files to My Speechi Connect Account
- Step 3: Retrieve My Files on Any Speechi Interactive Screen
Step 1: Log into My Speechi Connect Account
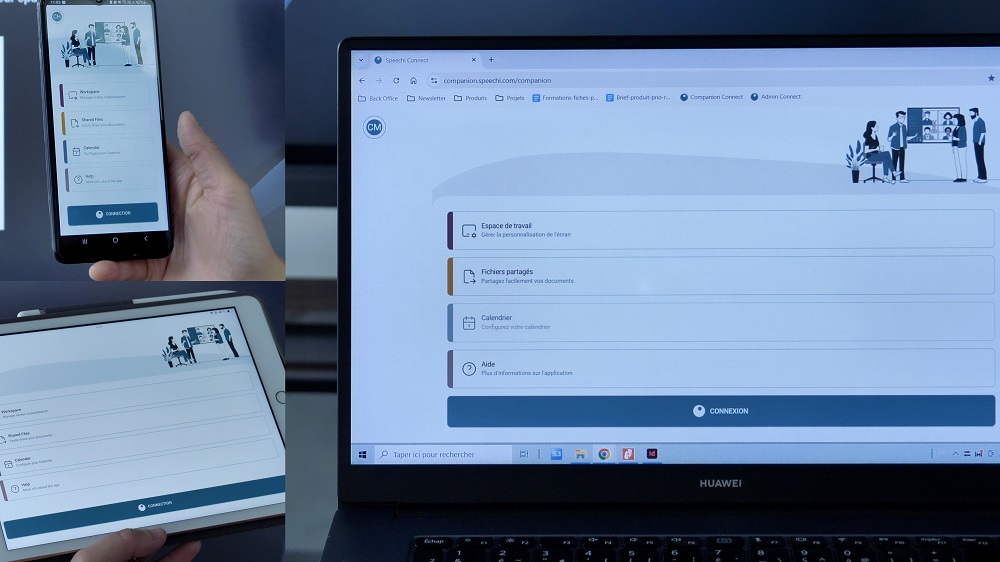
Go to your Speechi Connect account and log in through either:
- Your PC, by visiting https://companion.speechi.com/login.
- Your tablet or smartphone, by launching the Speechi Connect app.
Step 2: Upload My Files to My Speechi Connect Account
Any file format can be uploaded to your Speechi Connect account (PDF, images, videos, Office documents, Note or Iolaos files, etc.). If you’re uploading a file that requires specific software to open, make sure that the required software is installed on the interactive screens in your organization.
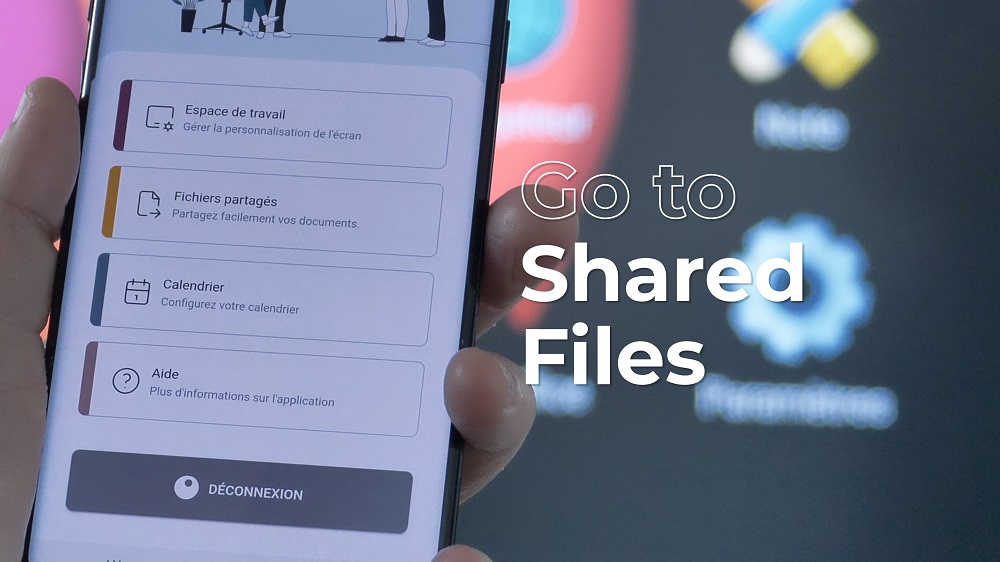
Click on the second tab, “Shared Files.”
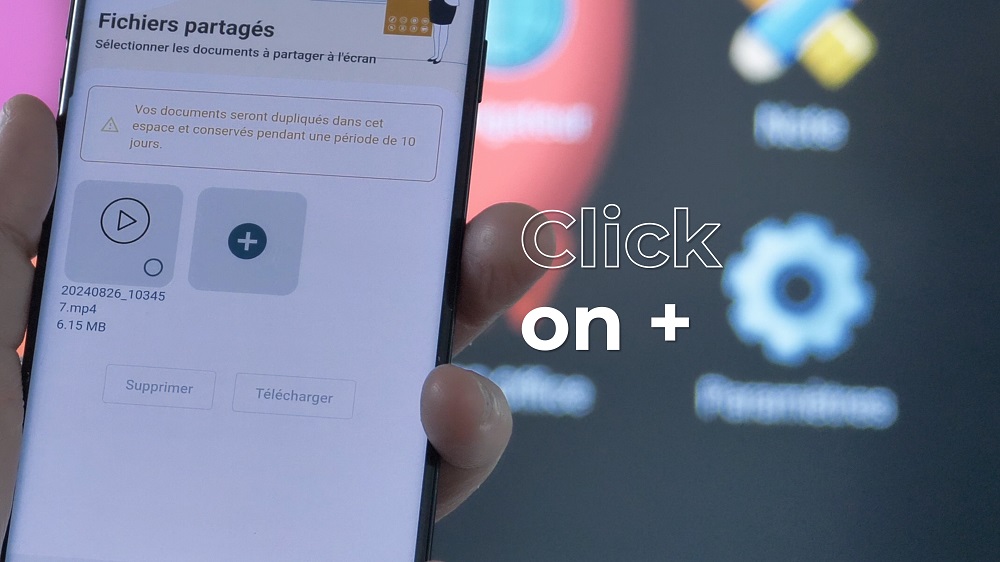
Click the “+” icon to upload a new document to your account.
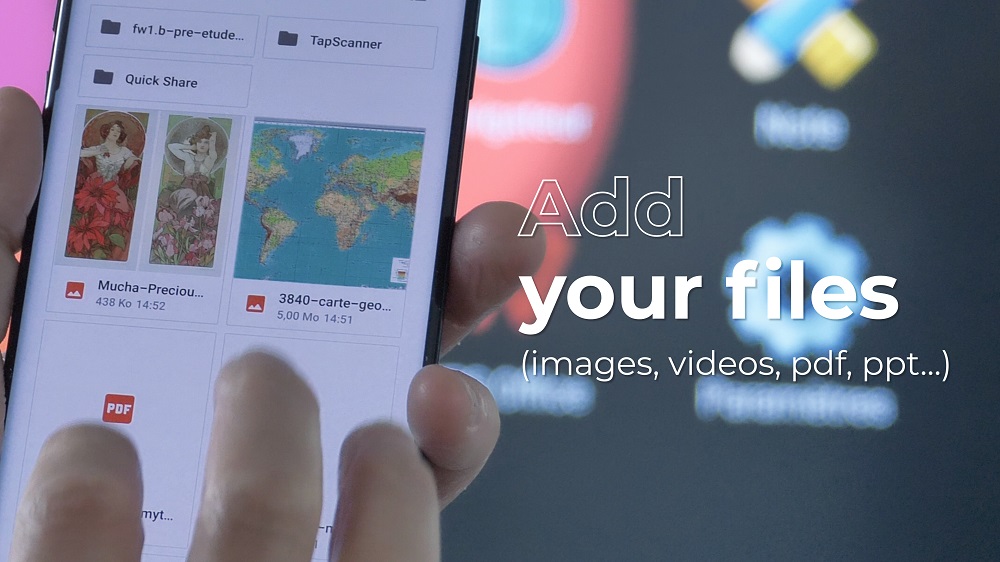
Select your document from your PC/tablet/smartphone’s file explorer that appears, then click “Open.”
Your document is now uploaded to your account!
Step 3: Retrieve My Files on Any Speechi Interactive Screen
Now, let’s move on to the final step. To display your documents on the Speechi screen, you first need to retrieve your personalized workspace on one of the interactive screens in your organization.
Scan the login QR code.
- Open the Swift Bar on the interactive screen.
- Open your Speechi Connect app or log into your Speechi Connect account on your PC.
- Click “Login” and scan the QR code or enter the code displayed below the QR code if you’re on a PC.
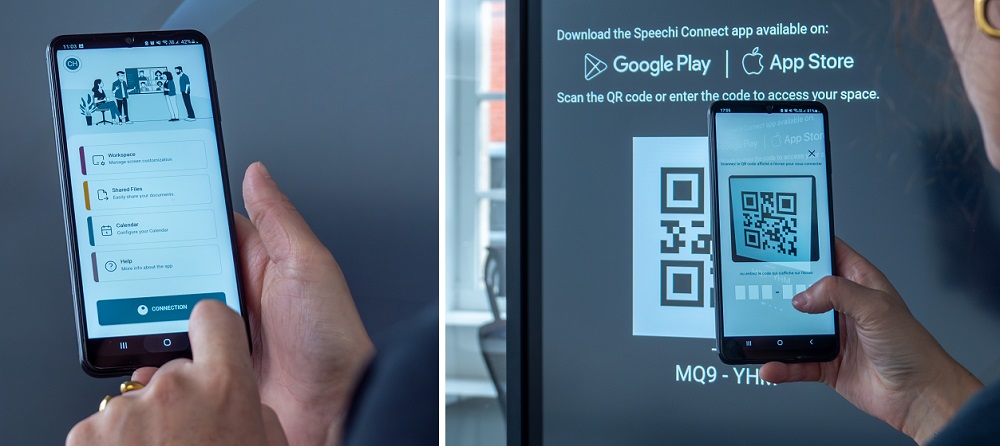
For more details on the login methods, refer to Step 3 of Tutorial #1: Personalize My Speechi Interactive Display with Connect.

Display the Shared Files Pane. Once your personalized workspace is loaded on the interactive screen, scroll through the Swift Bar tabs until you reach the “Shared Files” pane. Here, you’ll find the list of documents you previously uploaded to your account.
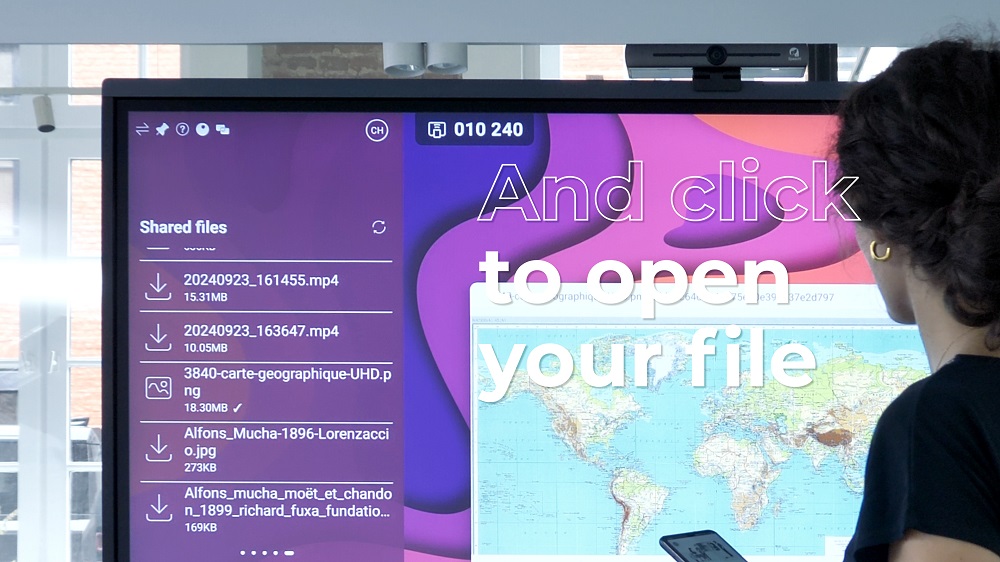
Display My Documents on the Screen. Click once on one of the documents to load it onto the screen (a checkmark will appear when loading is complete), then click a second time to display it. The appropriate application will automatically open to display your document.
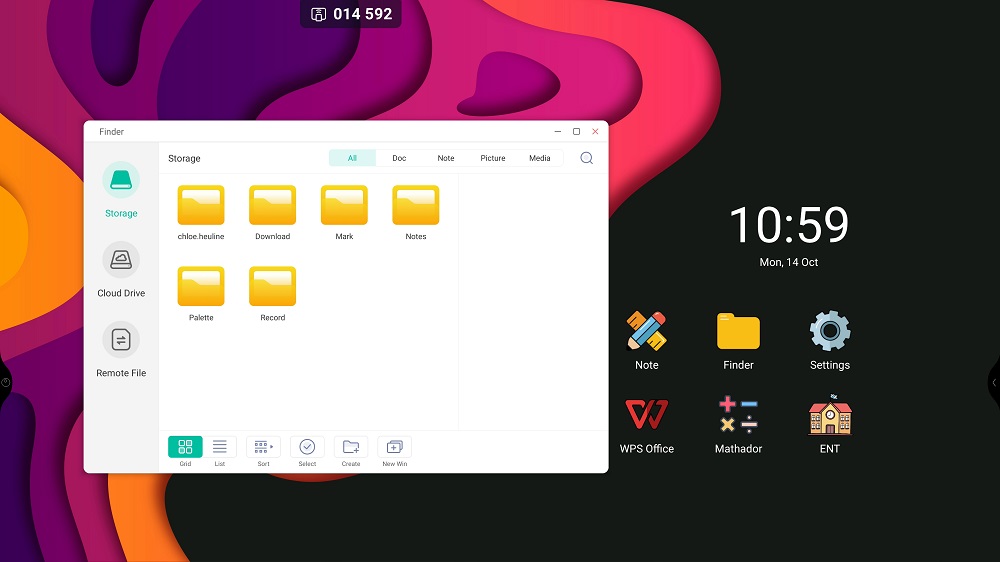
My Documents in Finder. All documents uploaded to the interactive screen can also be found in Finder, the file explorer of the Speechi screen.
- Click on Finder, then on Storage.
- Click on the folder with your name.
- You will find all the uploaded documents there.
Coming Soon…
Our upcoming tutorials:
- How to retrieve what I’ve done on the Speechi screen to my Connect account.
- An introduction to the Swift Bar: the key feature of the Speechi Connect interface.
