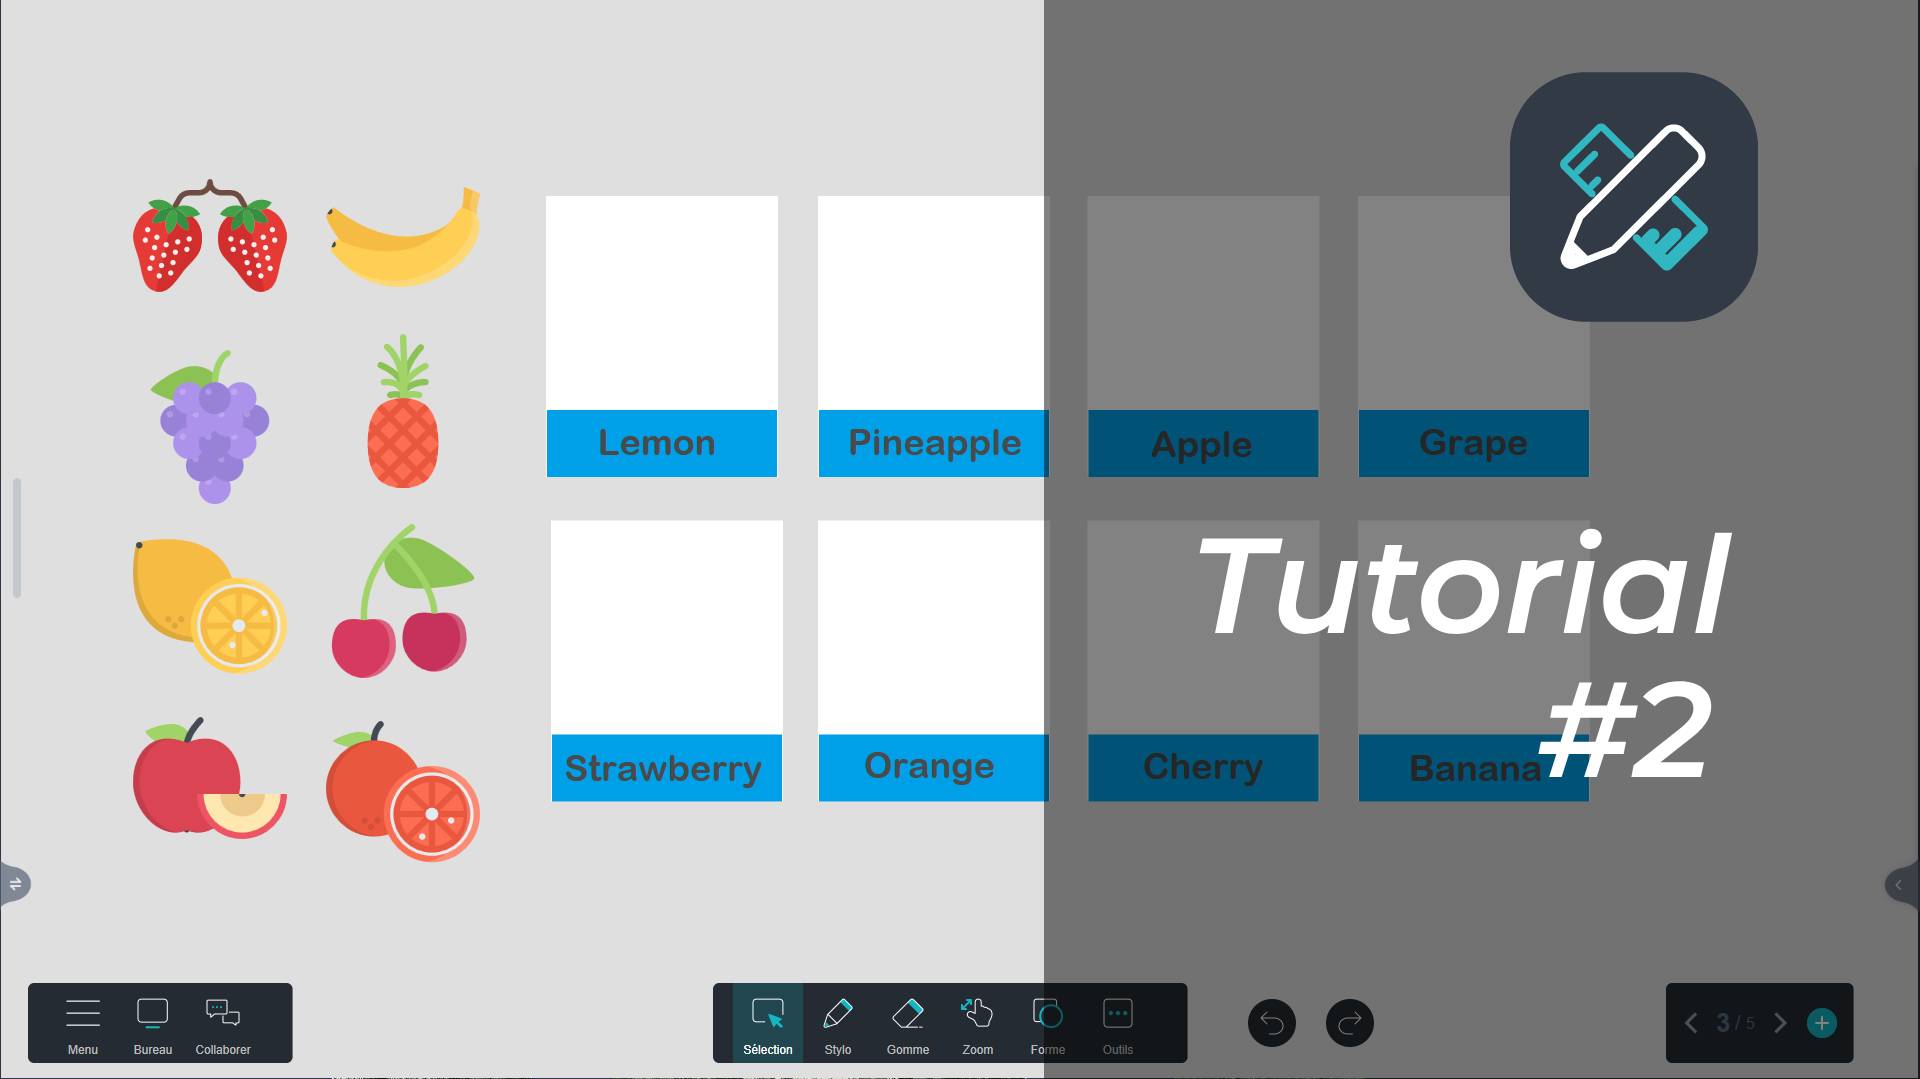
In this second tutorial, discover the features of the Iolaos whiteboard software to create interactive exercises from scratch for your students to complete on your classroom’s interactive display.
Let’s take the example of a labeling game where the teacher asks students to match each fruit to its corresponding label. In this step-by-step guide, we’ll show you how to quickly and effectively create this type of exercise on your PC.
Summary of Features Covered in This Tutorial
- Illustrating labels* (↓): Use the integrated image library.
- Naming labels* (↓): Type and format text.
- Creating a custom label template (↓): Create shapes, arrange elements, and group them.
- Quickly creating repetitive elements for an exercise (↓): Duplicate or use keyboard shortcuts.
- Achieving a neat result with one click (↓): Align elements with each other.
- Preventing certain elements from being moved by students (↓): Lock elements.
Step 1: Gathering Images (↑)
First, gather the elements for your exercise: images and text.
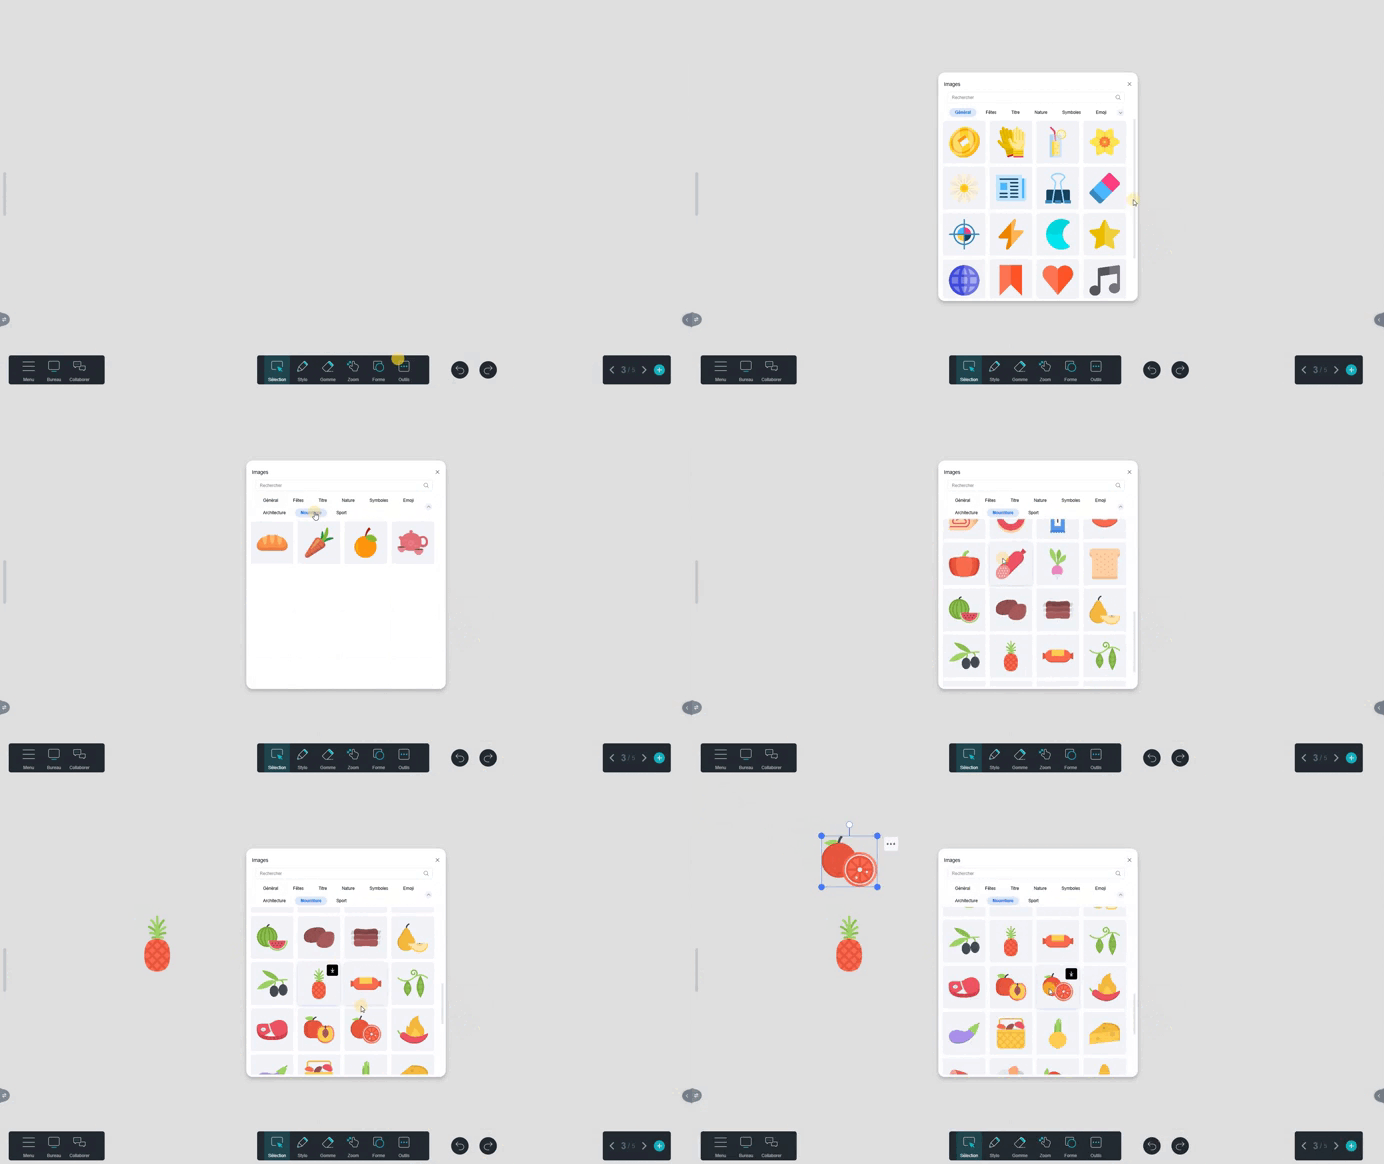
- Go to Tools, then Images to access the Iolaos image library.
- Click the small arrow on the right to display all image categories.
- Select the Food category.
- To retrieve your illustrations, drag the images onto the slide or click the download button [↓].
Step 2: Naming the Labels (↑)
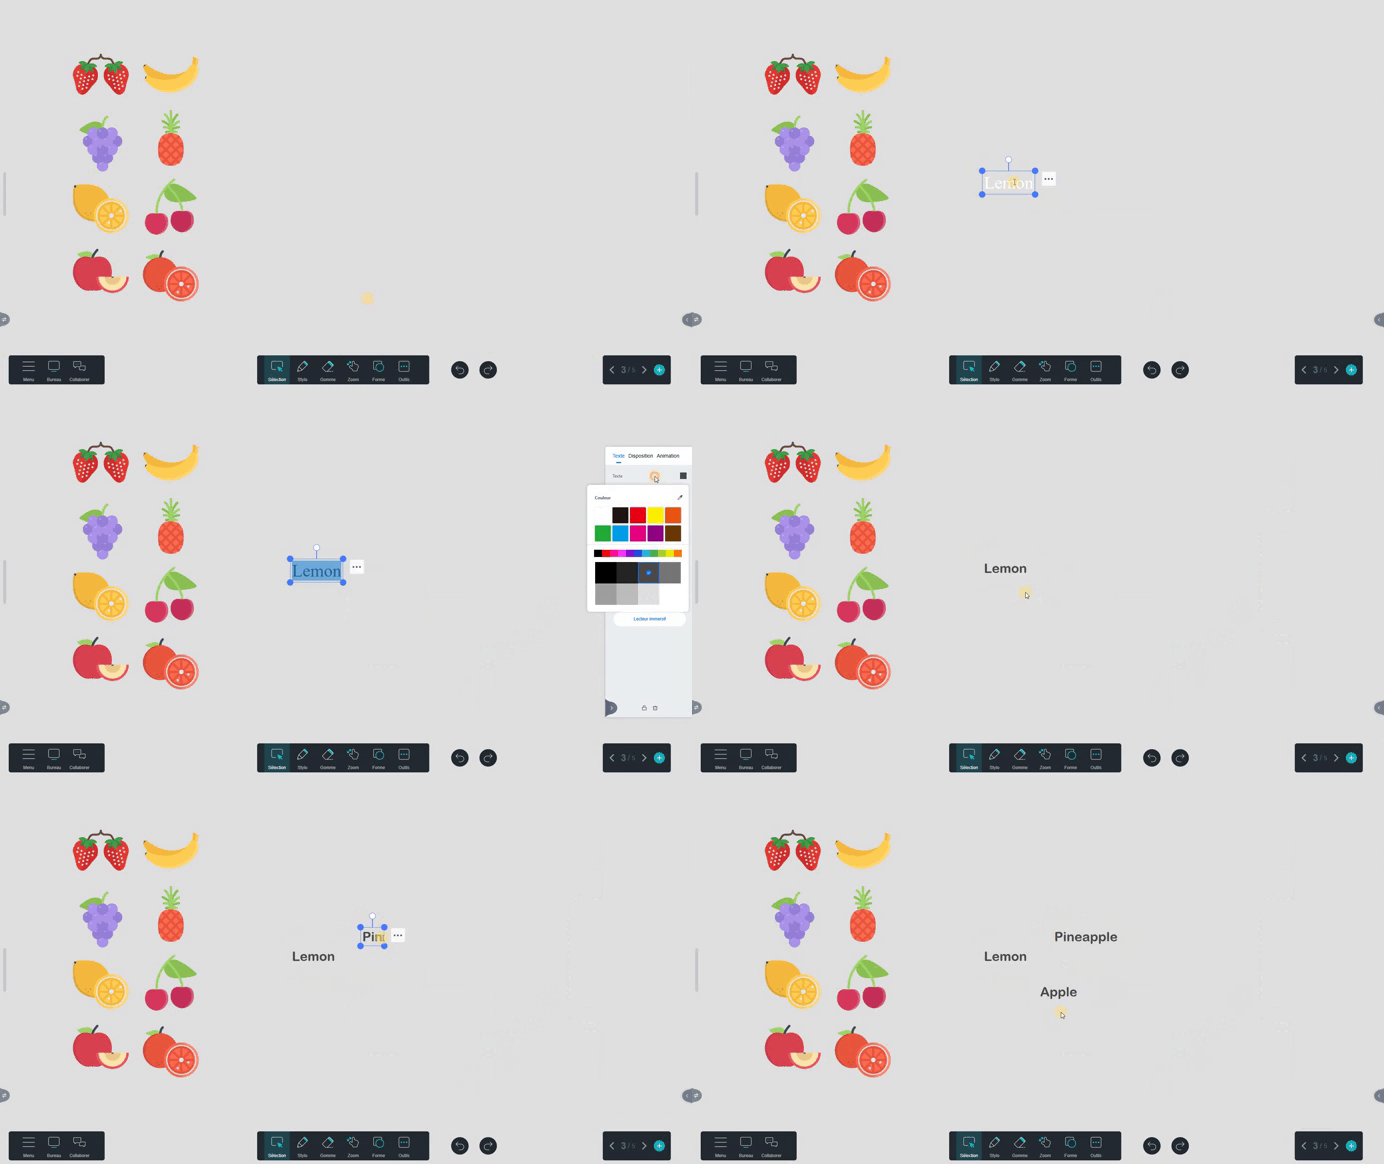
- Go to Tools, then Text, and type the name of a fruit.
- Open the text’s Properties Panel to format it. To do so:
- Click the three dots, then select Properties Panel.
- Alternatively, click the arrow at the bottom right of the board.
- Once formatted, duplicate the text to avoid repeating the formatting process:
- Click the three dots, then select Duplicate.
- Or use the keyboard shortcut (Ctrl + C to copy, then Ctrl + V to paste).
Step 3: Creating a Label Template (↑)
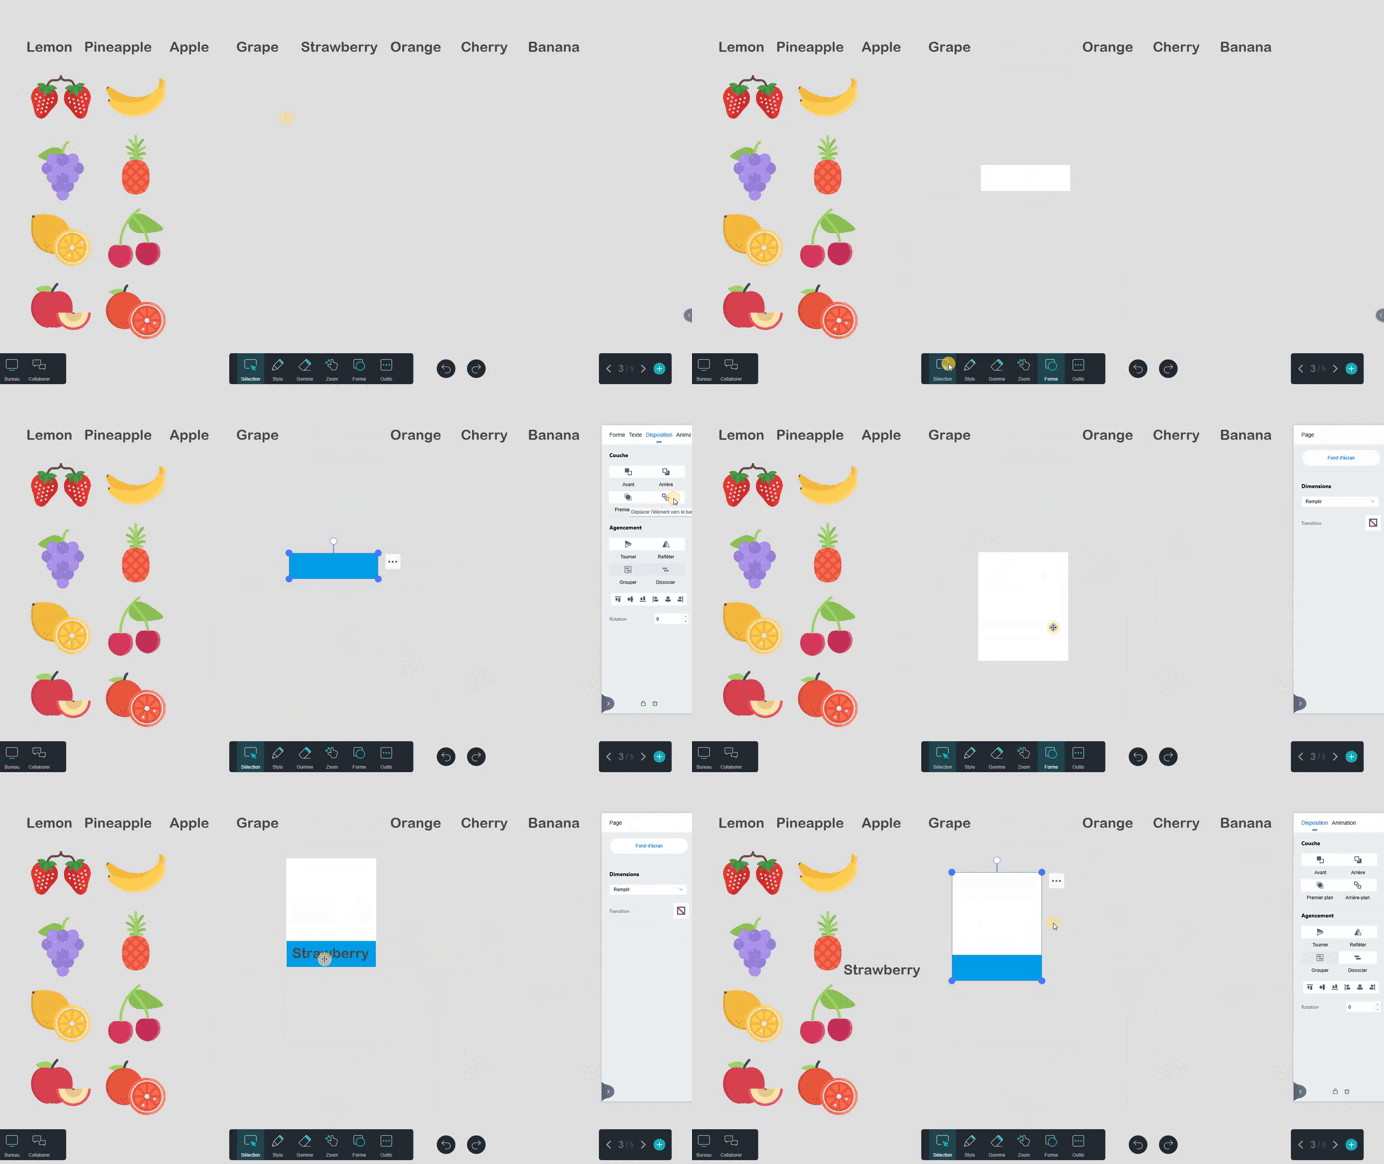
- Go to Shape, then select the square shape.
- Draw the first rectangle for the text (adjusting its size to the longest word in your list). Open its Properties Panel to set its color.
- In the panel’s Layout tab, click Back to ensure the text appears above the rectangle.
- Repeat this for a white rectangle large enough to hold an image.
- Set the text element aside. Select both rectangles, go to the Properties Panel, and click Group. Your label template is ready!
Step 4: Duplicating a Template (↑)
To duplicate your label template, click the three dots, then select Duplicate, or use the keyboard shortcut:
- Select the label.
- Hold the Ctrl key and press C to copy, then press V as many times as needed to duplicate.
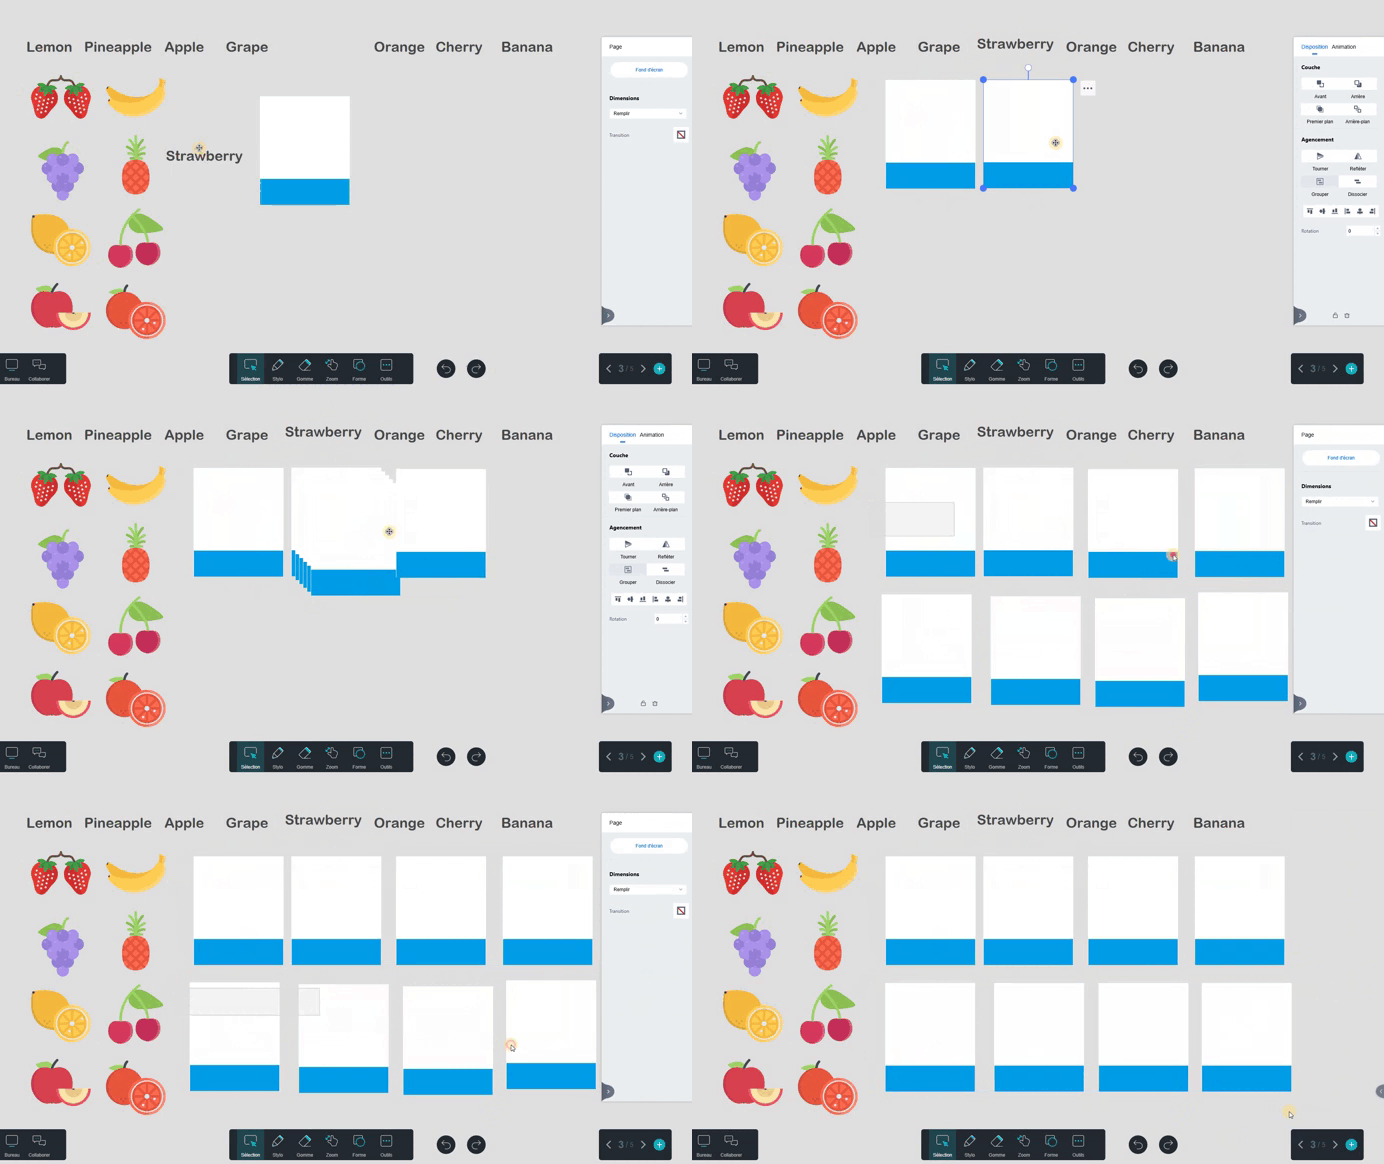
Arrange the labels roughly next to each other. To align them perfectly:
- Select the labels in a row.
- Go to the Properties Panel.
- Click one of the alignment buttons in the Layout section’s last row.
Step 5: Customizing Each Label (↑)
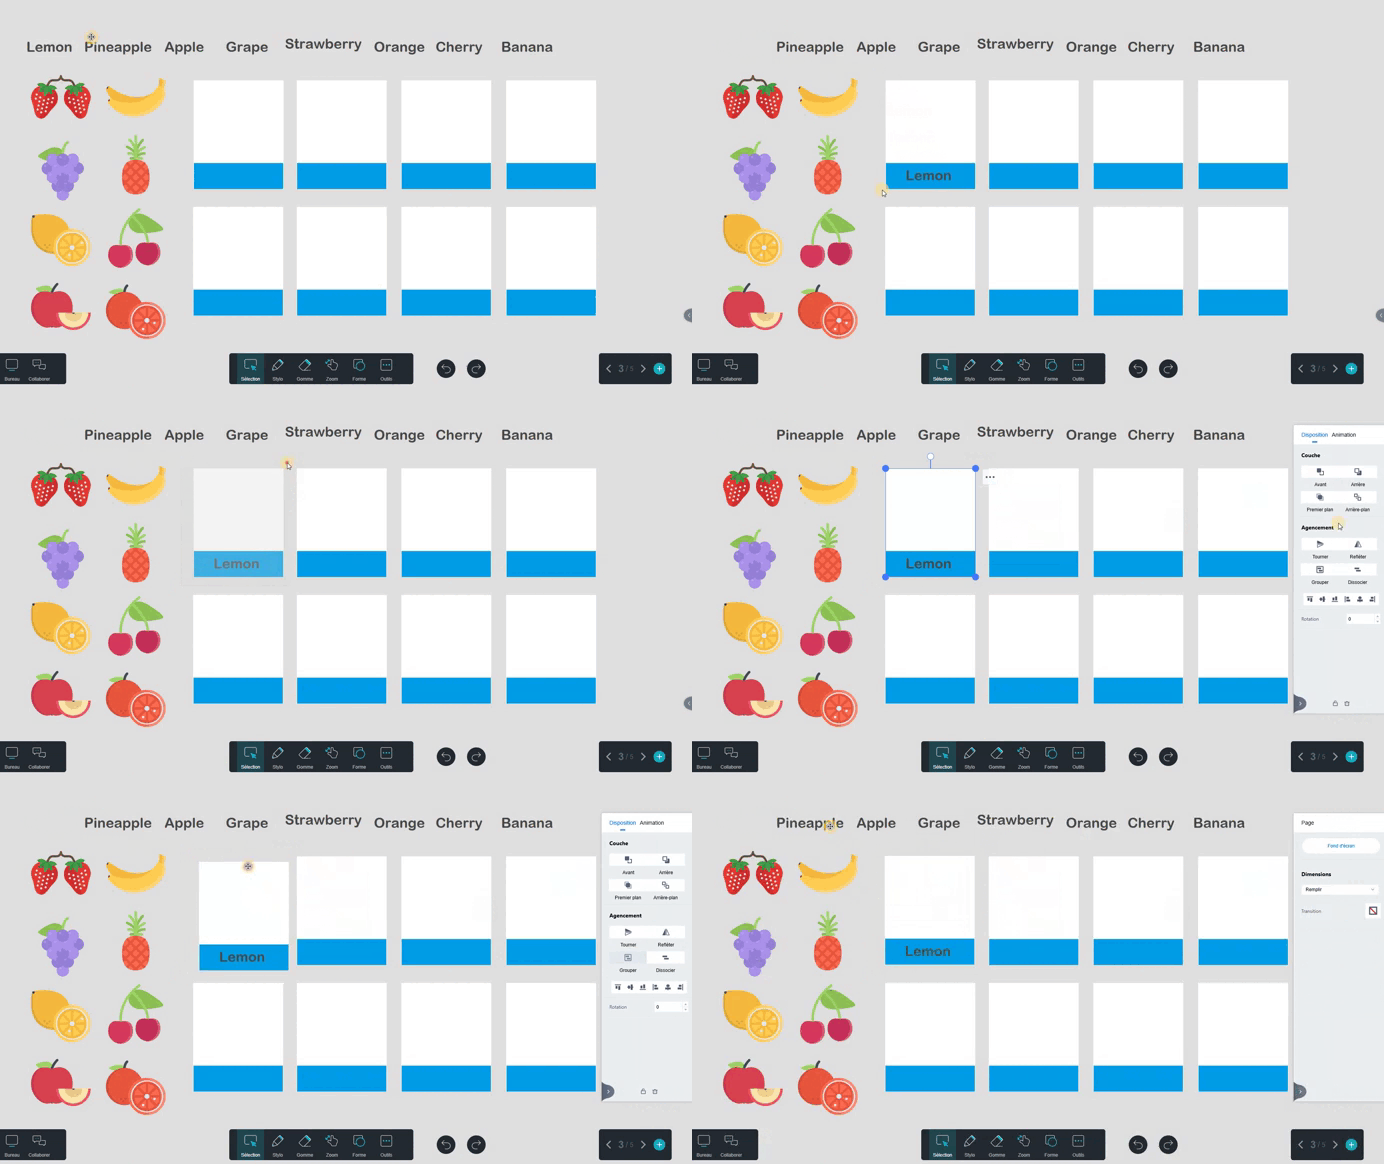
- Place each fruit name on a label.
- To group a labeled item:
- Select the label along with its text.
- In the Properties Panel, click Group.
Step 6: Locking Labels (↑)
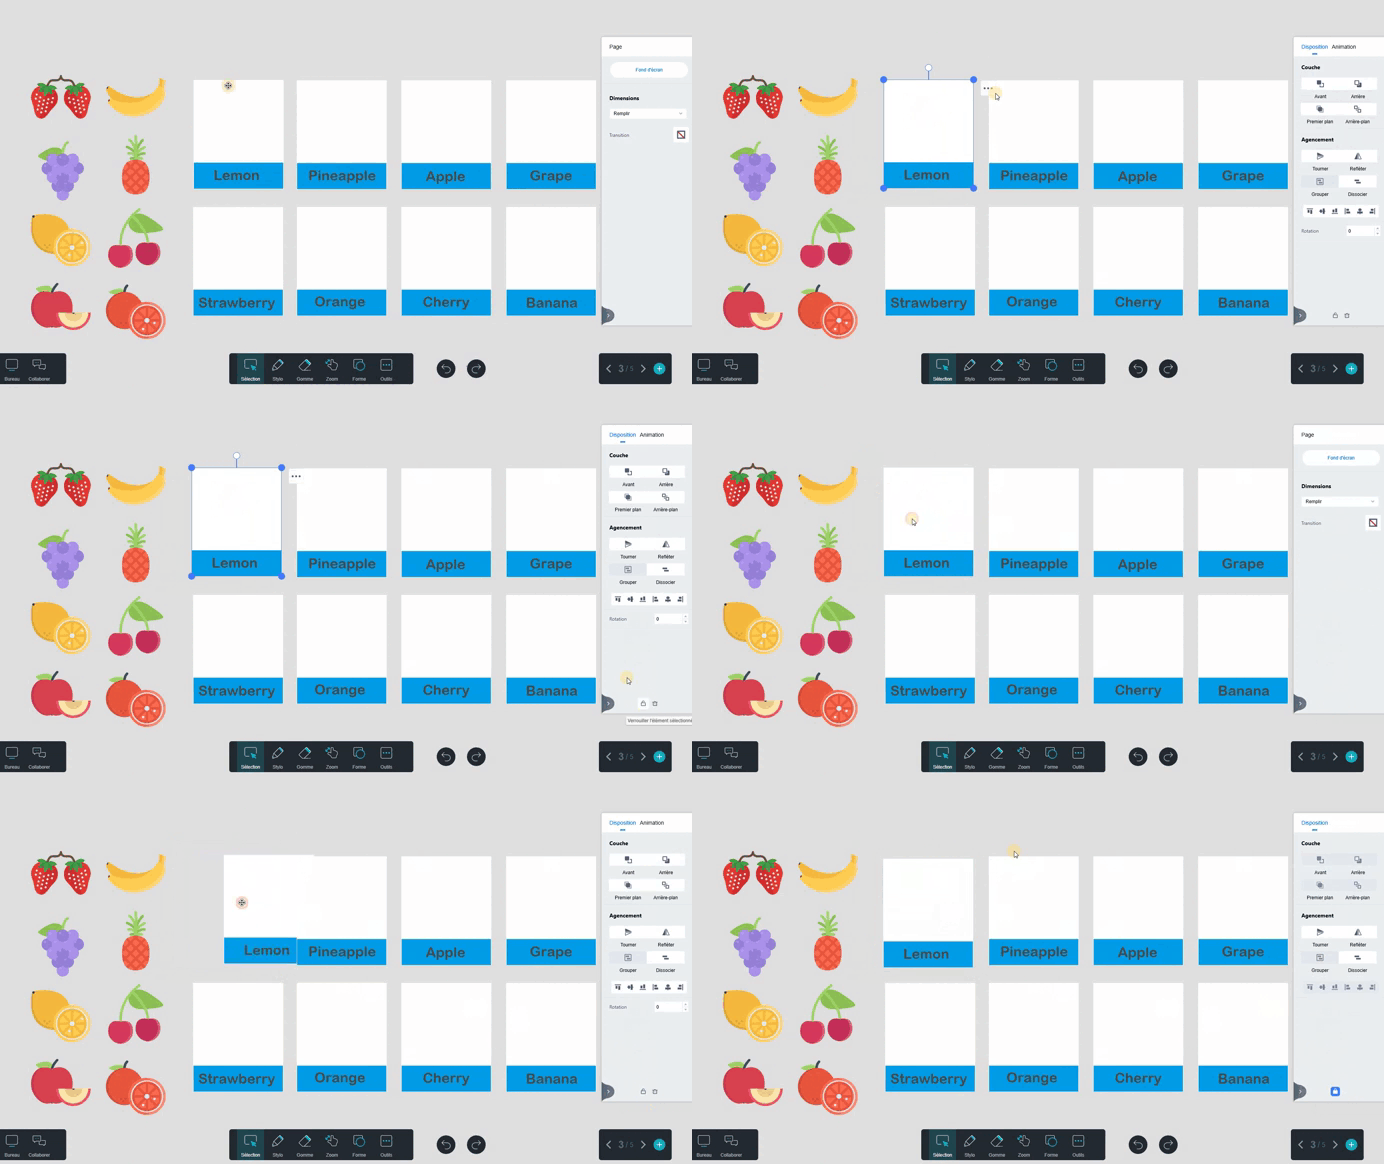
If you want the labels to remain fixed on the slide:
- Select a label (or all labels at once).
- Open the Properties Panel.
- Click the Lock icon at the bottom of the Layout tab.
→ Your labels are now locked and can no longer be moved.
Posted on 13 December 2024
