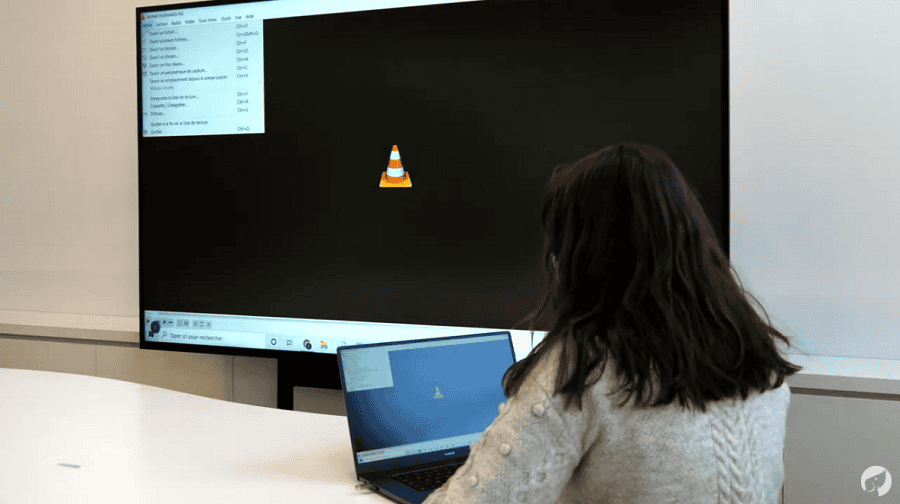
We’re continuing our tutorial series to show you how to display content on the SpeechiDisplay screen. In the first tutorial, we showed you how to broadcast your content using the built-in player on the SpeechiDisplay screen. This time, we’ll explain how to do it using the ScreenShare app. Be warned—it’s so simple and fast that the tutorial will be very short.
How to Broadcast Your PC Screen on the SpeechiDisplay Screen Using ScreenShare Pro
On the home screen of the SpeechiDisplay, you’ll see 4 tiles that give you direct access to the main features of the screen. The second tile, called “Screen Share,” displays a number. This number will allow you to broadcast your PC screen onto the large SpeechiDisplay screen. Here’s how:
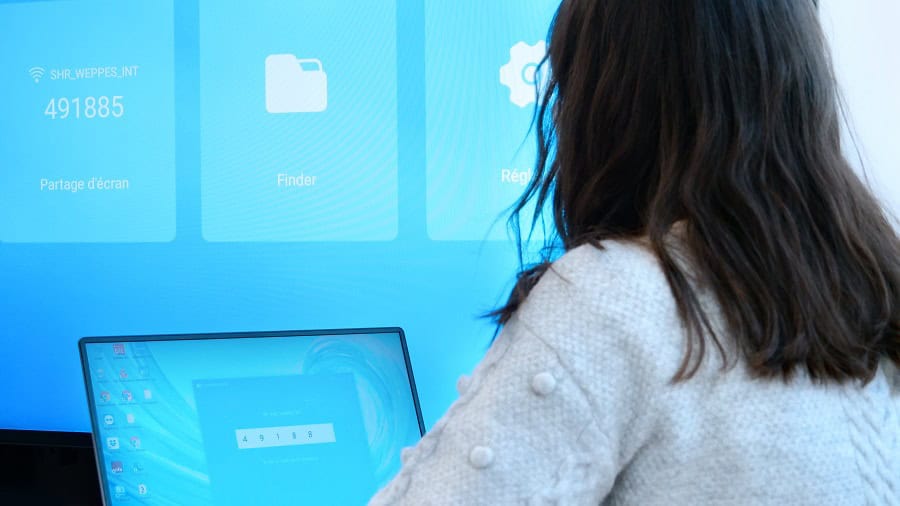
1° Be on the same network!
First, your SpeechiDisplay must be connected to the same network as your PC. For this, your SpeechiDisplay will need to be equipped with a WiFi module (available as an option).
2° Launch the ScreenShare Pro app on your PC
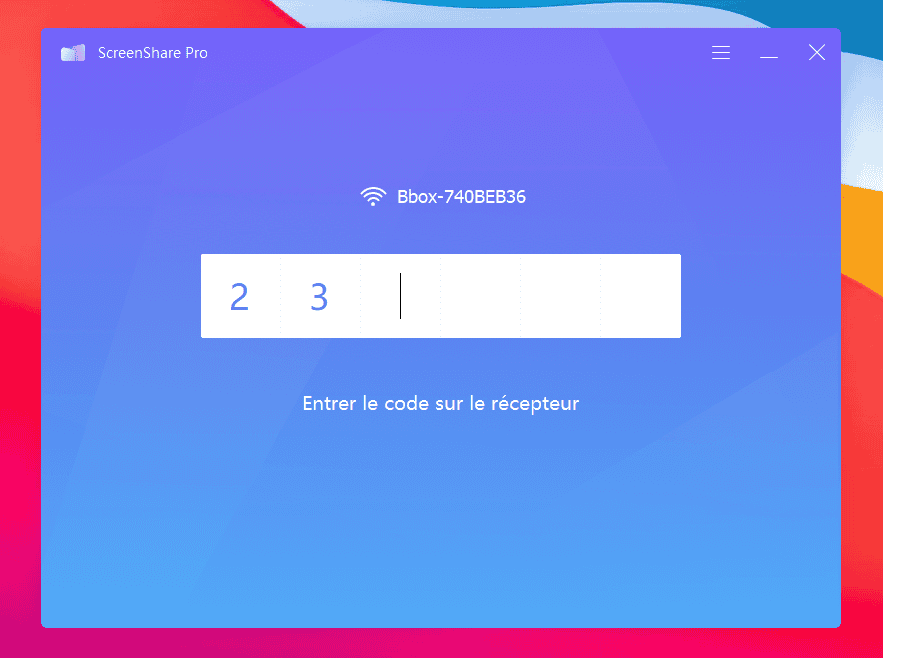
First, download the ScreenShare Pro app on your PC. It’s easy to find online and it’s free! Once installed, double-click the icon to launch the app. The window shown below will appear, where you just need to enter the number displayed on the SpeechiDisplay screen.
3° Enable screen sharing
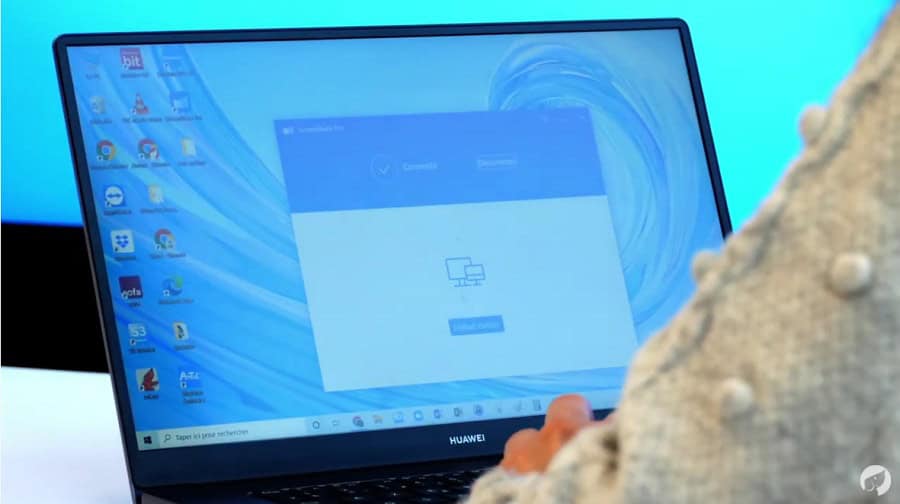
If both devices are on the same network and the code you entered is correct, the following window will appear. Click the “Start mirroring” button—your PC screen will now be displayed on the SpeechiDisplay screen.
4° Launch your media player
All that’s left to do is launch your media player. In the video, we used VLC, set our playlist to loop, and switched the video to fullscreen mode.
