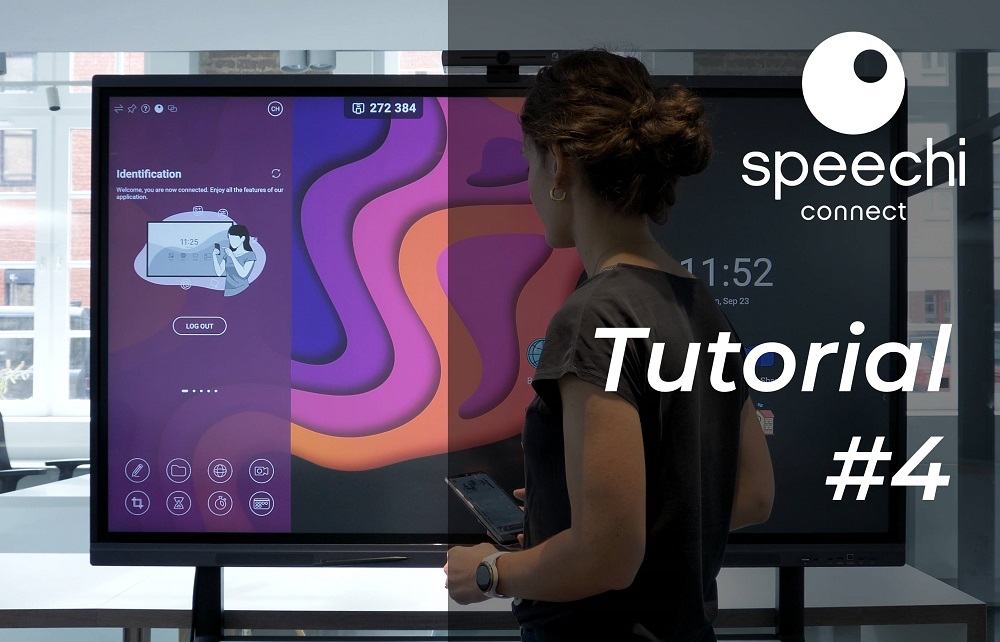
In this 4th tutorial dedicated to Speechi Connect, let’s see how to start a video conference in 3 steps.
Speechi Connect is free* and available on all compatible Speechi screens.
As a reminder, it’s an ecosystem of 3 elements: an admin platform to manage your Speechi screen network, an app for each user in your organization, and a Swift Bar on the screen. Together, these three components offer you an entirely new experience using Speechi screens, centered around customization. For instructions on activating it, refer to this article.
*With the Starter offer, included with the purchase of any Speechi interactive screen. Discover our offers.
Beforehand – Install a Windows PC on the Speechi screen
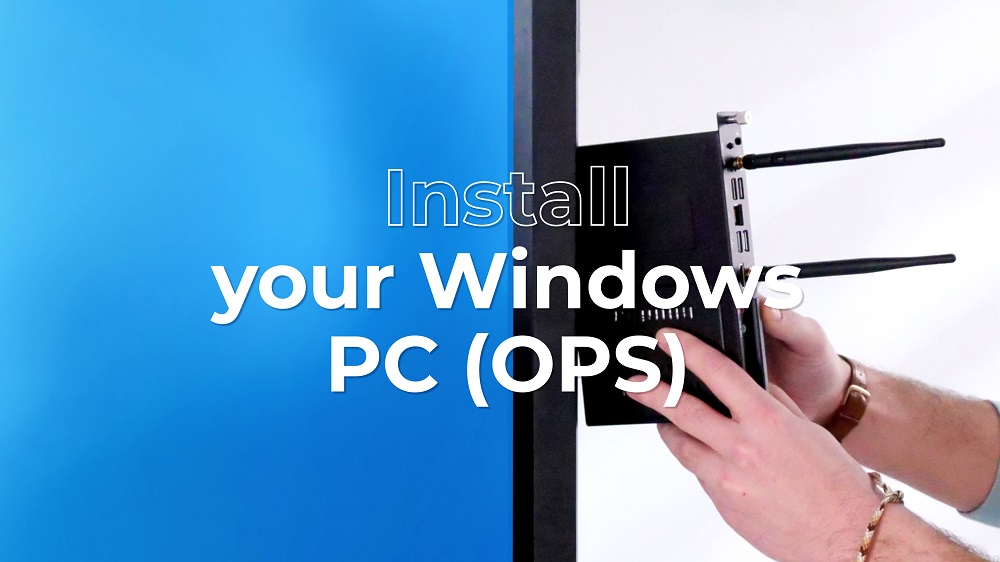
To take advantage of video conferencing on a Speechi interactive screen via Connect, your screen needs to be equipped with a Windows PC, as shown here.
Part 1 – Create your meeting on your PC (↑)
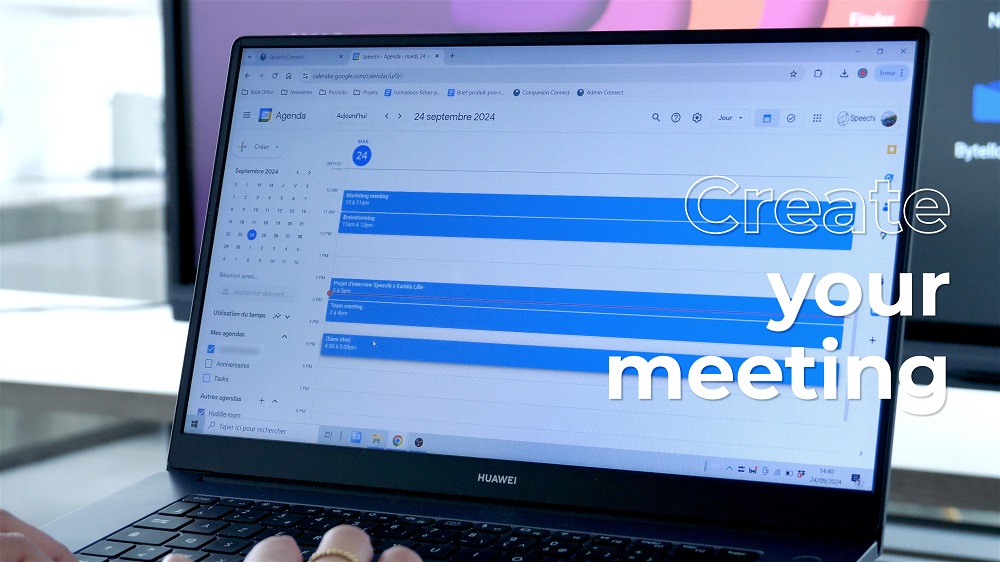
1- Create your meeting in your email’s calendar
In your email calendar, create your meeting as you normally would. The example here uses Gmail and Google Calendar.
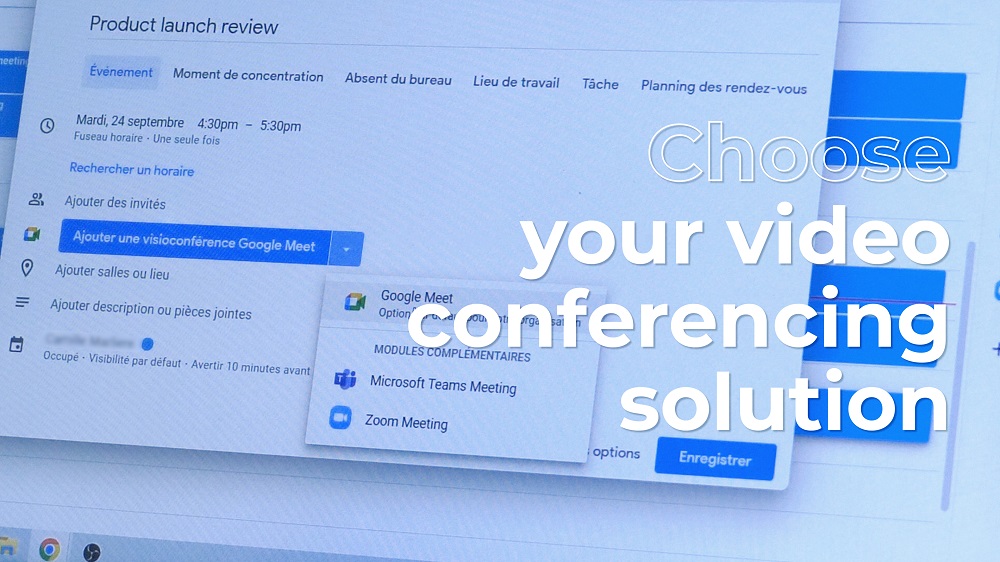
2- Choose your video conferencing tool
Once your meeting is created in your email calendar, configure it by selecting your preferred video module (Google Meet, Teams, Zoom, etc.).
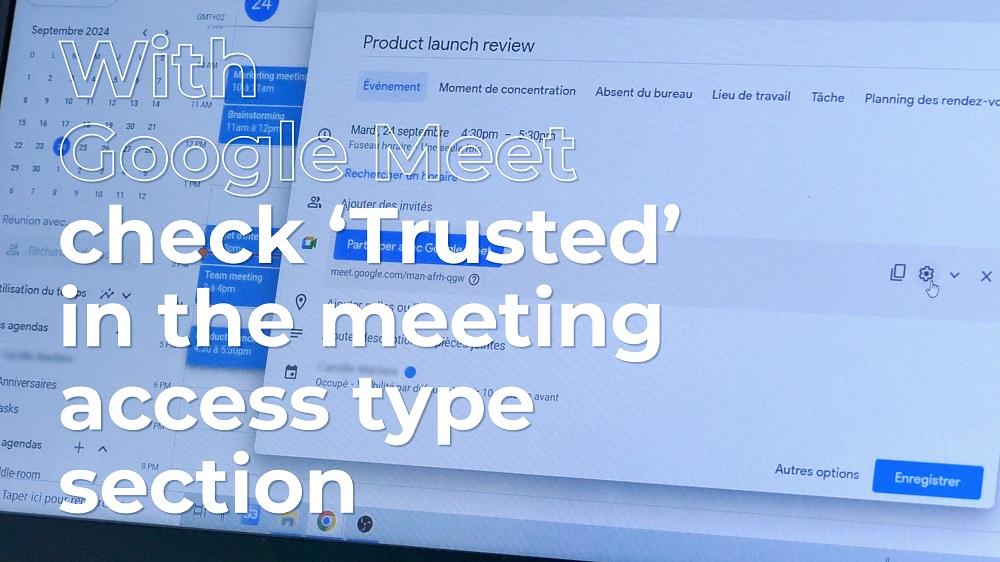
3- On Google Meet, check “Open” for the meeting
After choosing your video conferencing tool, go to its settings by clicking the gear icon, as shown here.
Set the meeting access to “open for all.” In Google Meet, go to the “Meeting access type” section, click on “Open,” and save.
Part 2 – Sync your calendar with Connect on your smartphone (↑)
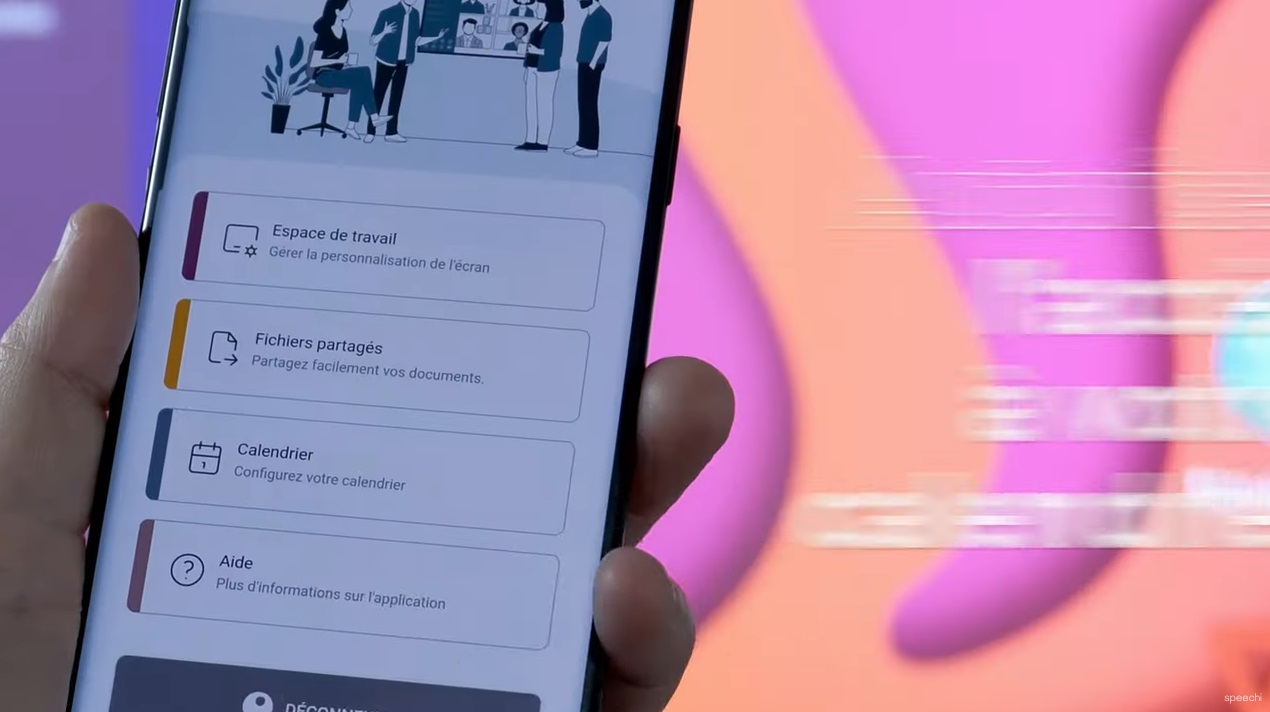
1- Open the Speechi Connect app on your smartphone or tablet
Click on the Calendar tab. For technical reasons, the Calendar tab is not available on PC.
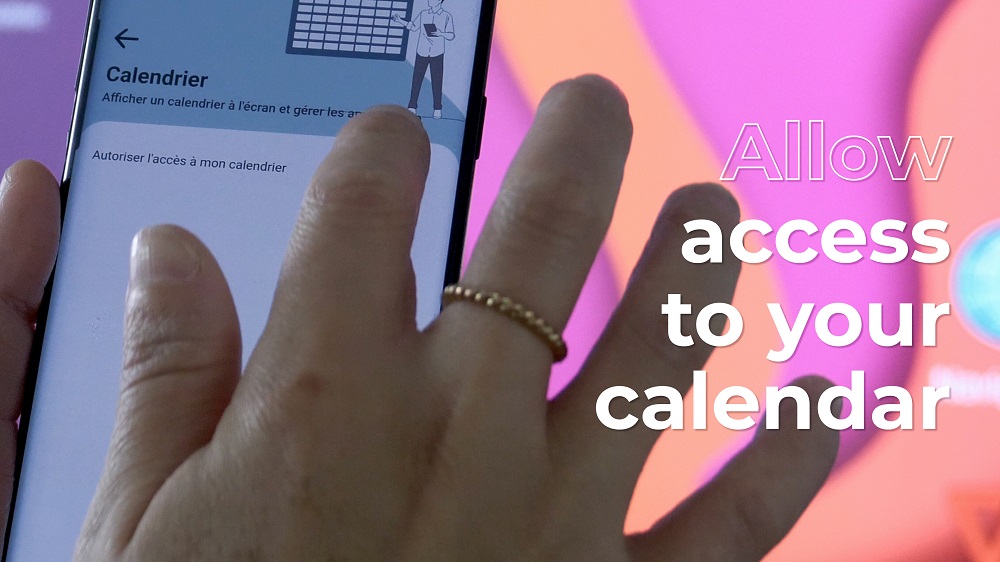
2- Authorize access to your calendar
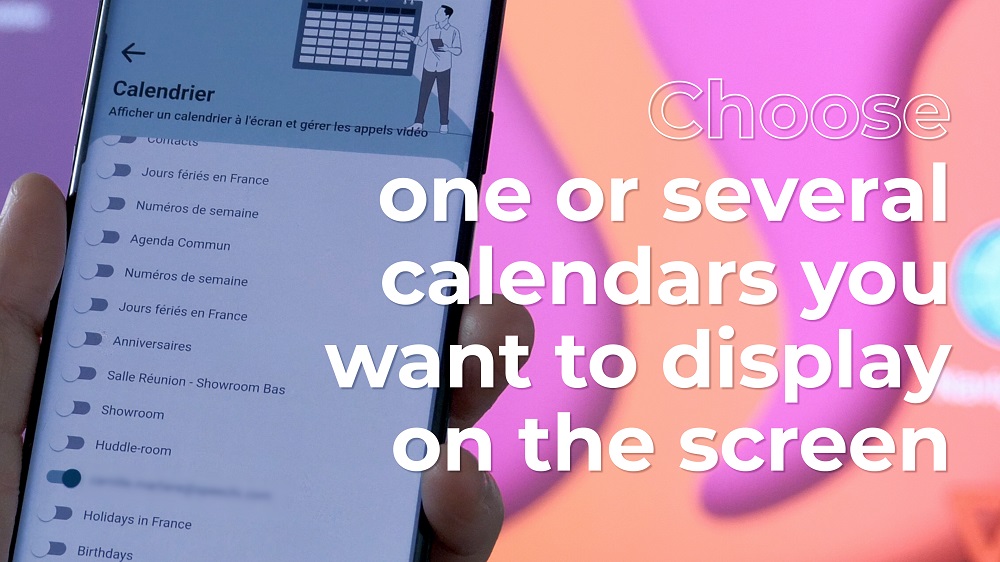
3- Select the calendars you want to display on the screen
Part 3 – Retrieve your calendar on the screen and start your video conference (↑)
1- Log in
Once these settings are in place, log in to access your personal space on a Speechi interactive screen in your organization.
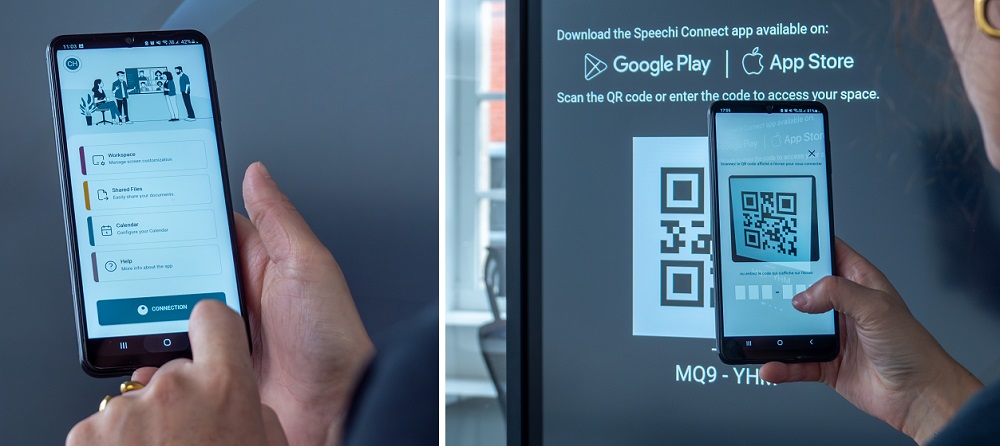
Still in the Speechi Connect app, click on “Log in” and scan the QR code displayed on the screen if you are on a smartphone or tablet (or enter the code displayed below the QR code if you are on a PC).
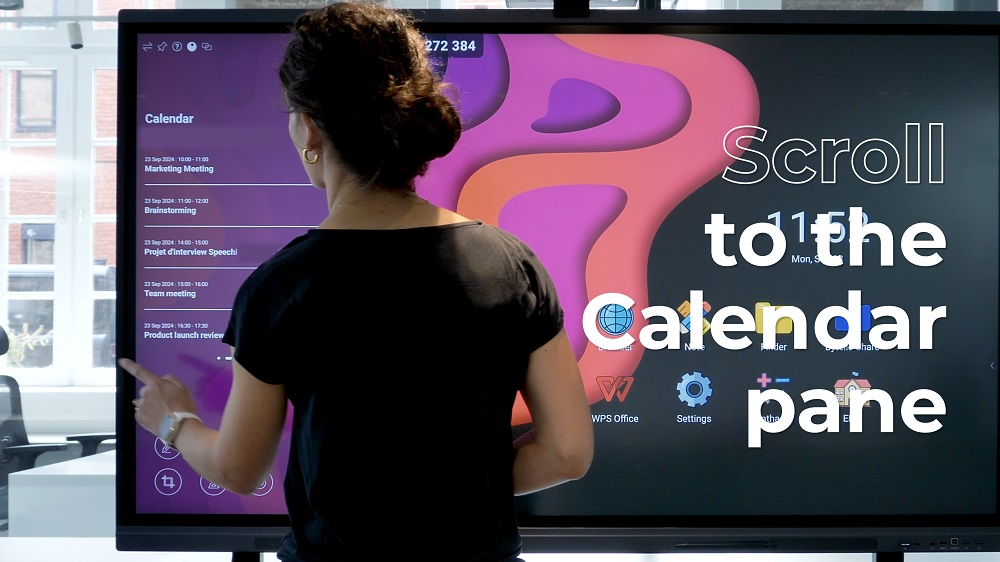
2- Scroll through the Swift Bar panels…
…until you reach the Calendar panel. Your calendar events are displayed.
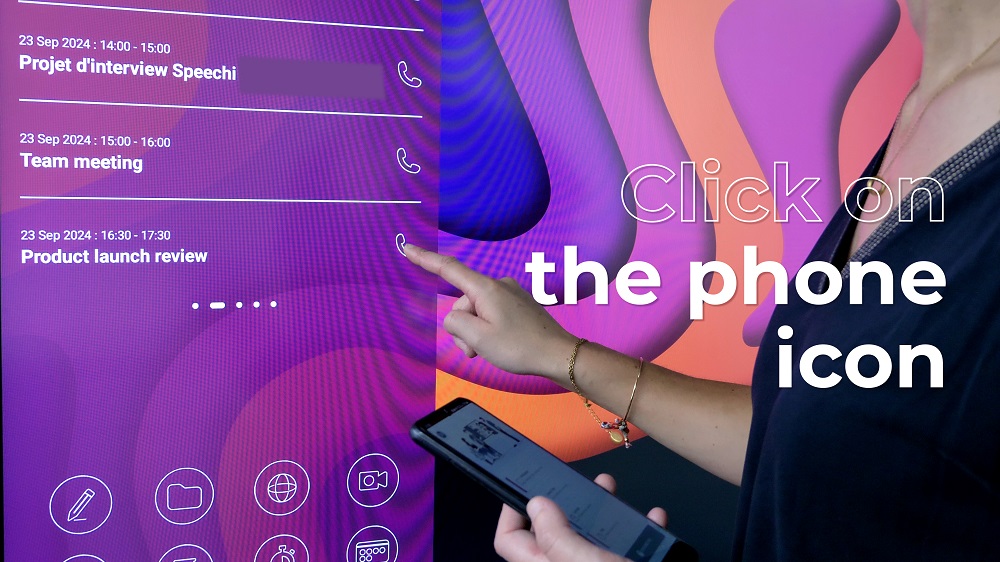
3- Click on the phone icon…
…of the video conference meeting you want to start.
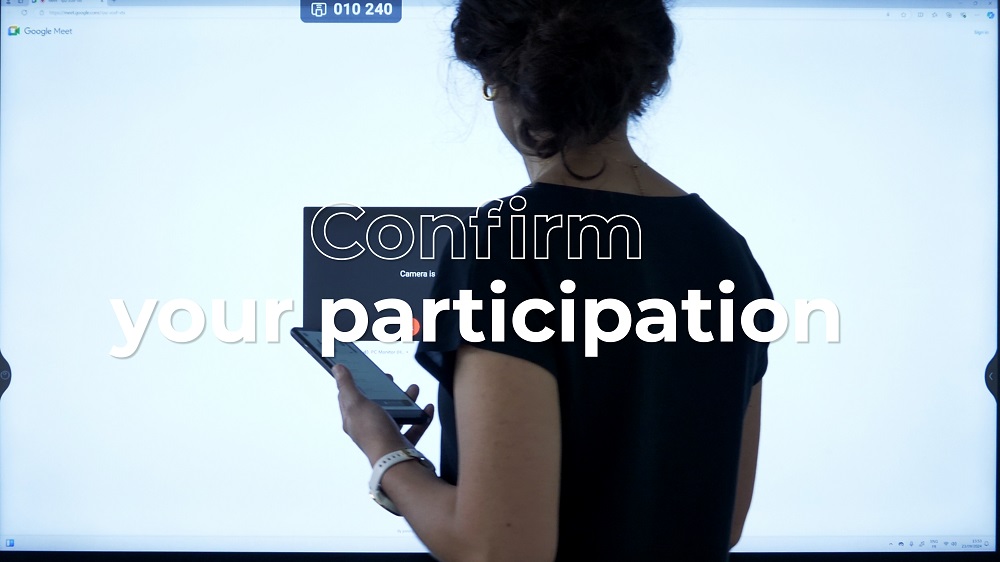
4- Confirm your participation in the meeting.
And enjoy your video call!
Our previous articles on Speechi Connect
- Speechi Connect on your company’s interactive display: what’s the benefit?
- Class Connect on Speechi Interactive Displays at My School: What’s the Benefit?
- Connect Tutorial #1: Personalize My Speechi Interactive Display
- Connect Tutorial #2: Sharing My Files on the Speechi Interactive Display
- Connect Tutorial #3: Introducing the Swift Bar, the Key Feature of the Speechi Connect Interface
