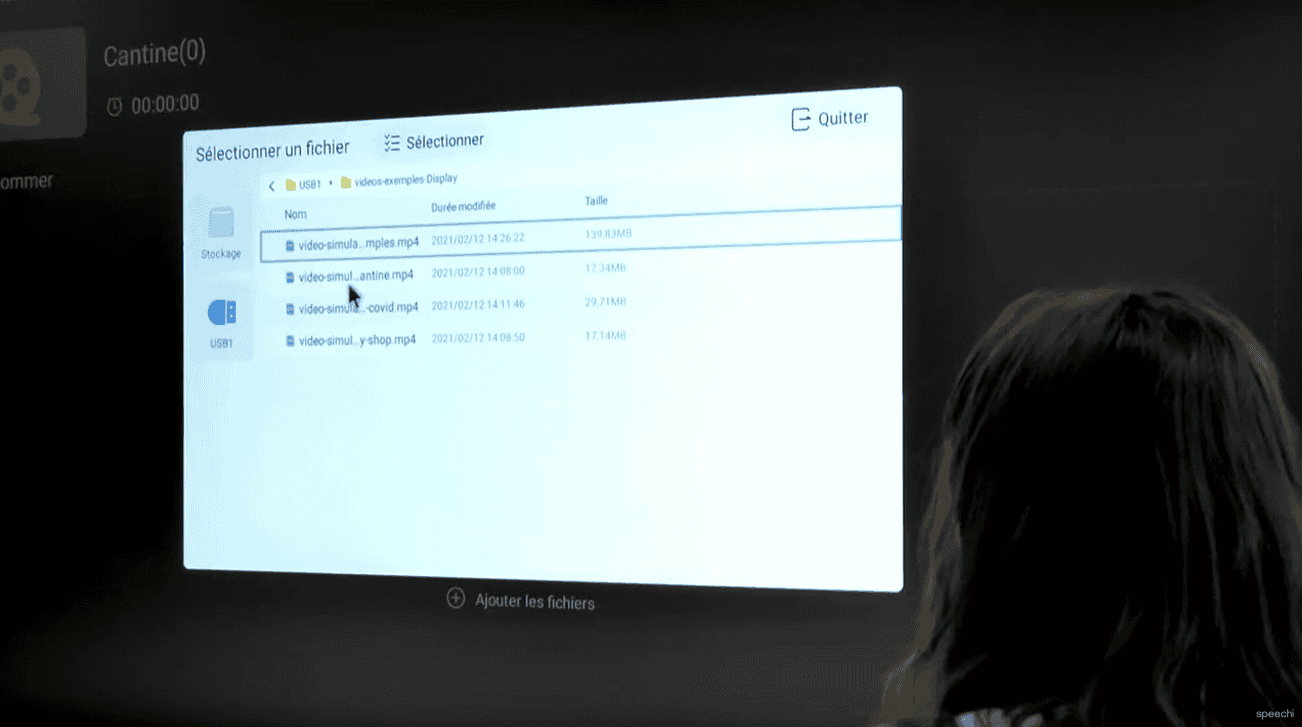
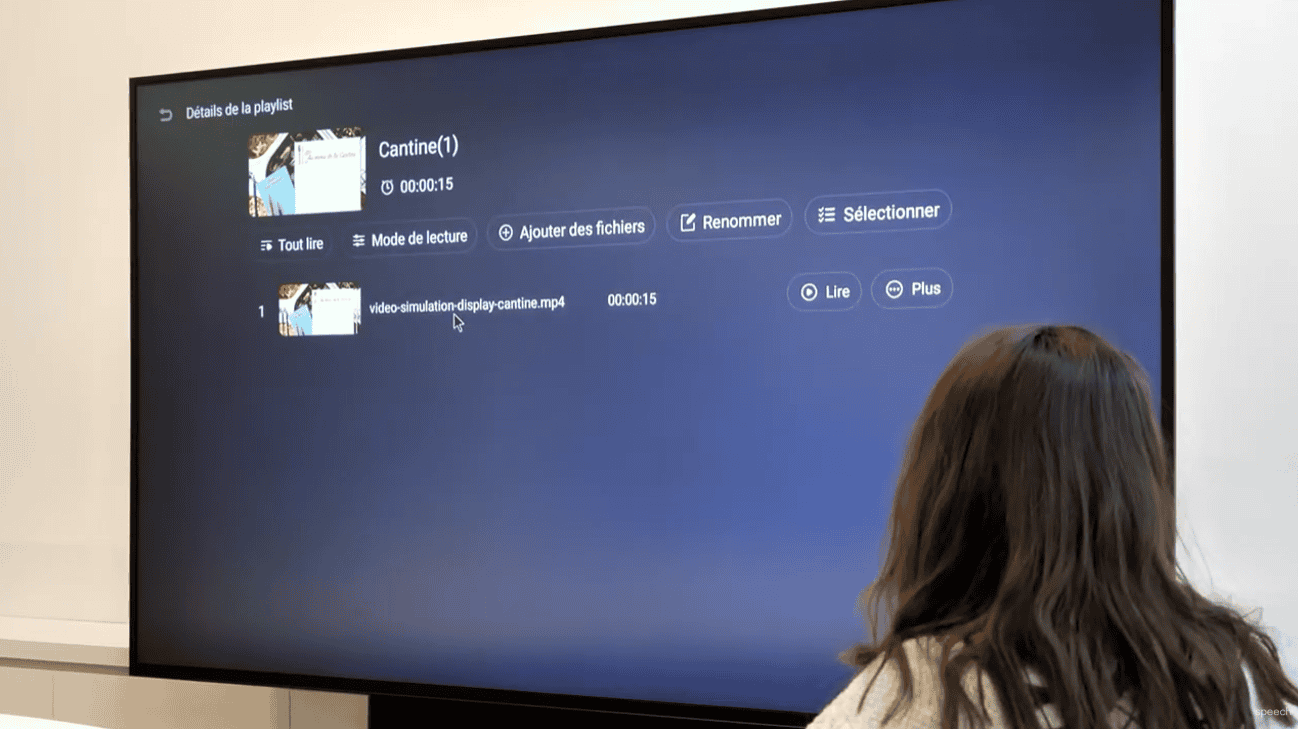
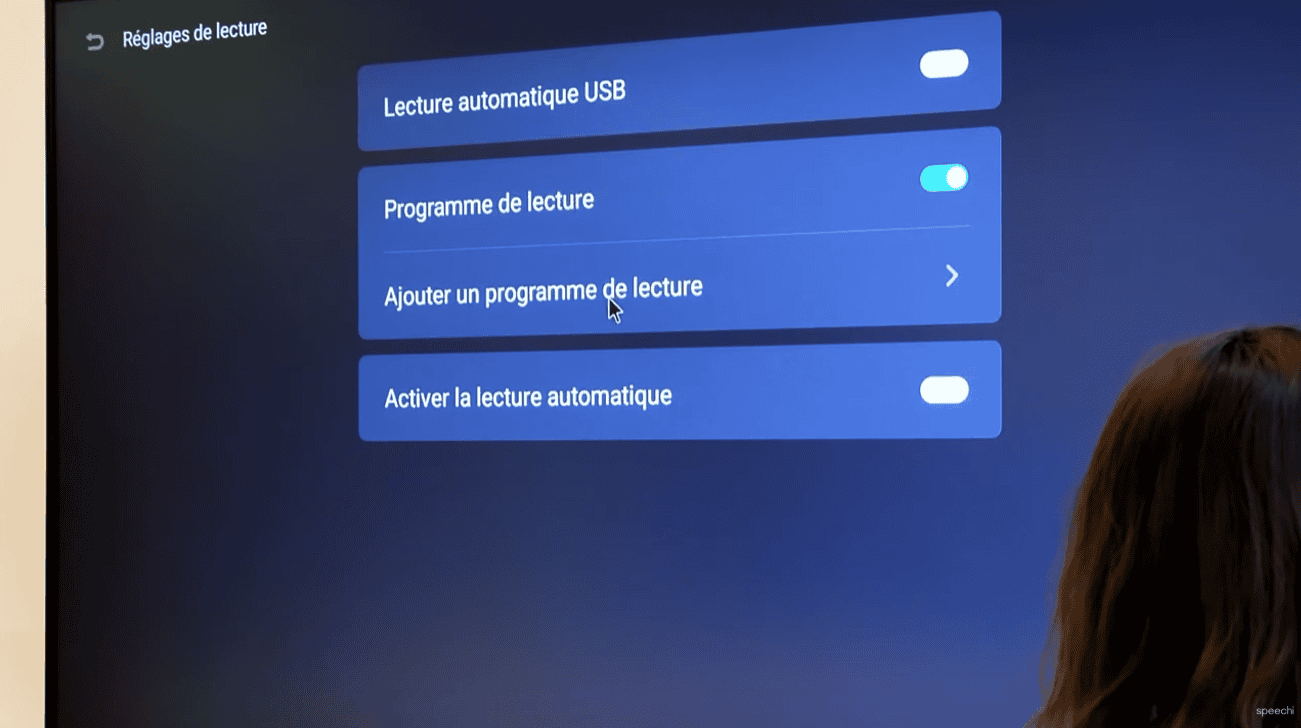
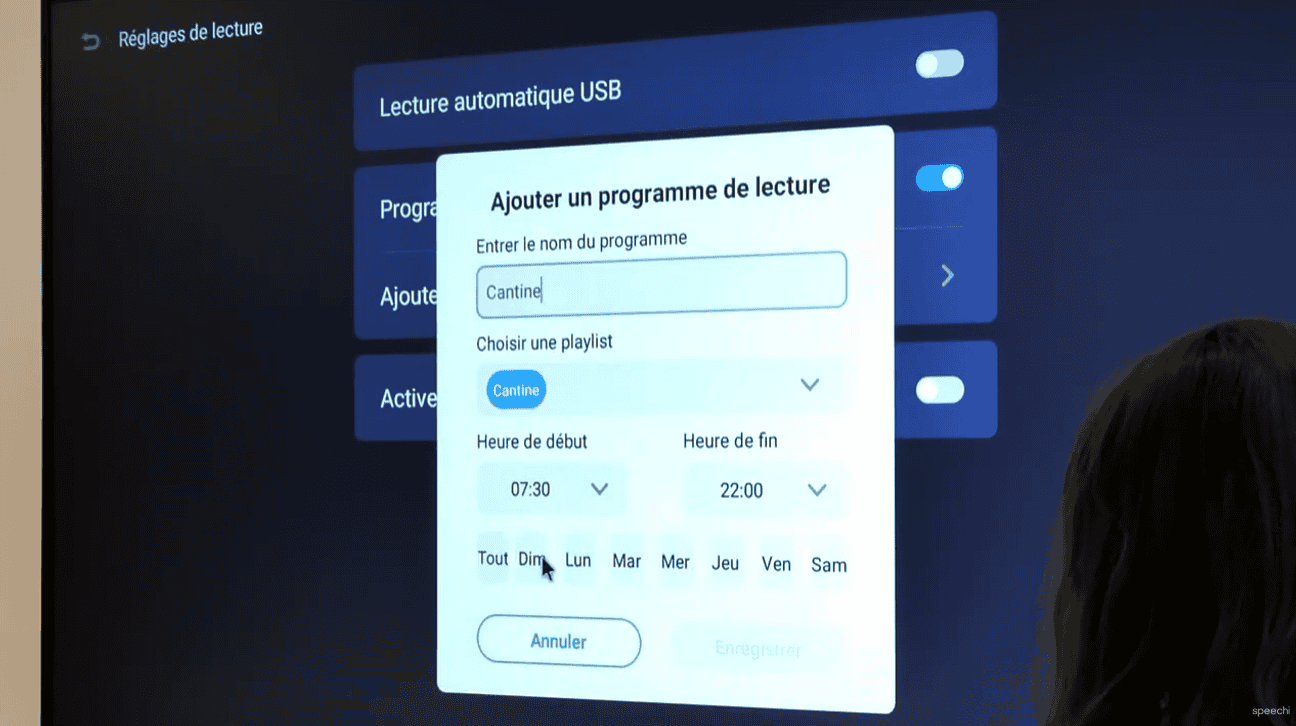
In a previous article, we introduced the three ways to create digital signage on a SpeechiDisplay, namely: using the screen’s built-in player, using the ScreenShare software, or using digital signage software. This first tutorial provides a step-by-step guide on how to display your communication content on the SpeechiDisplay screen using just a simple USB stick and the screen’s built-in player.
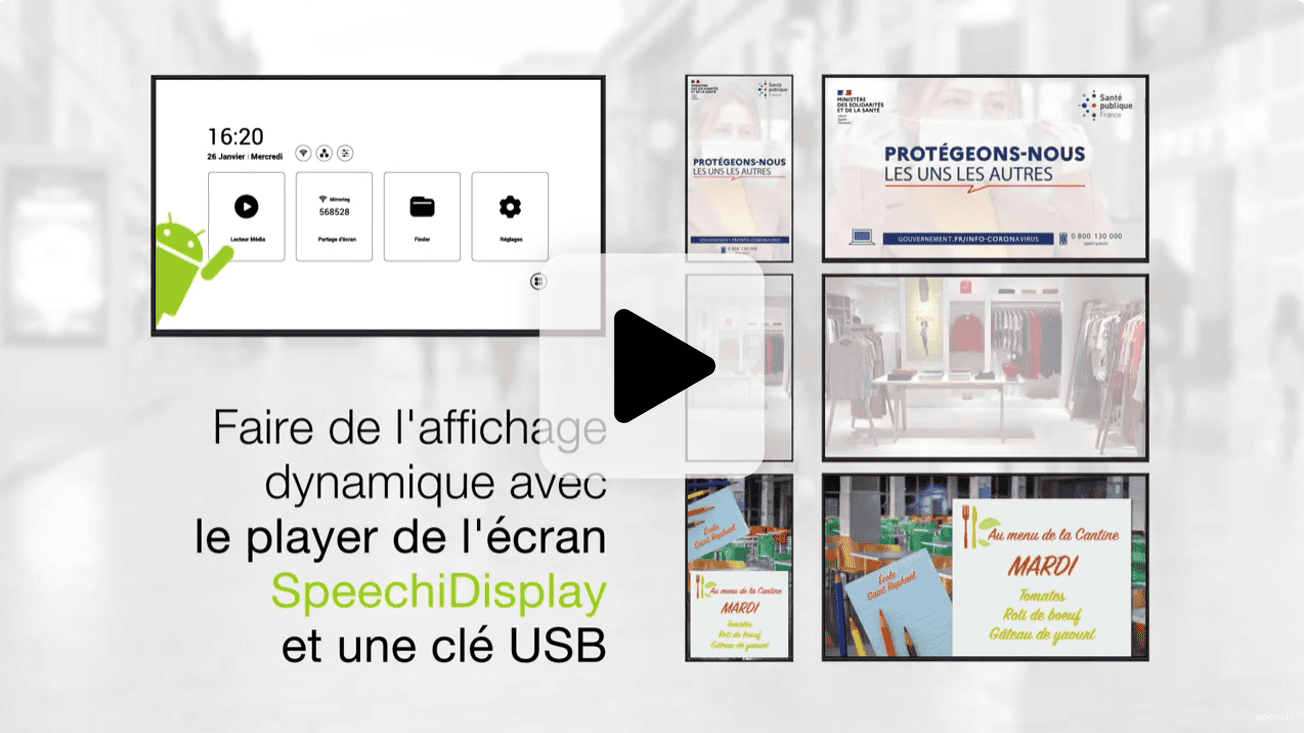
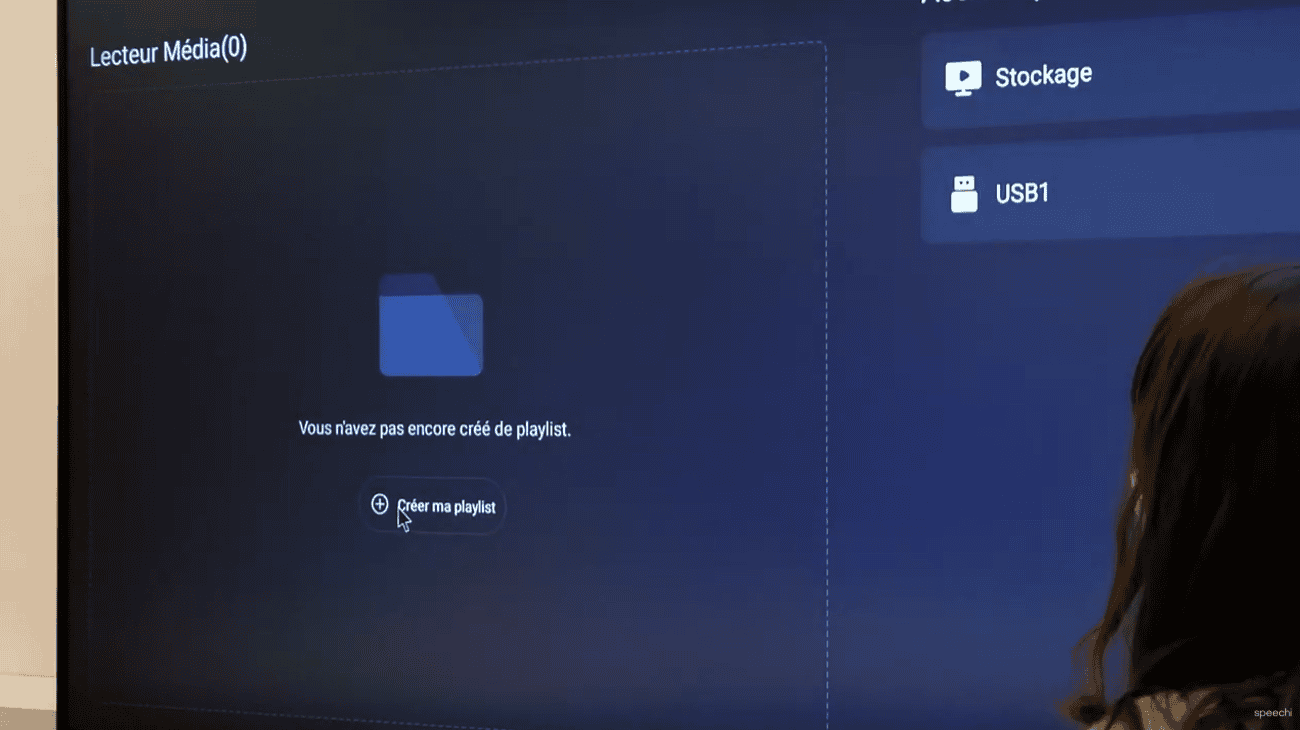
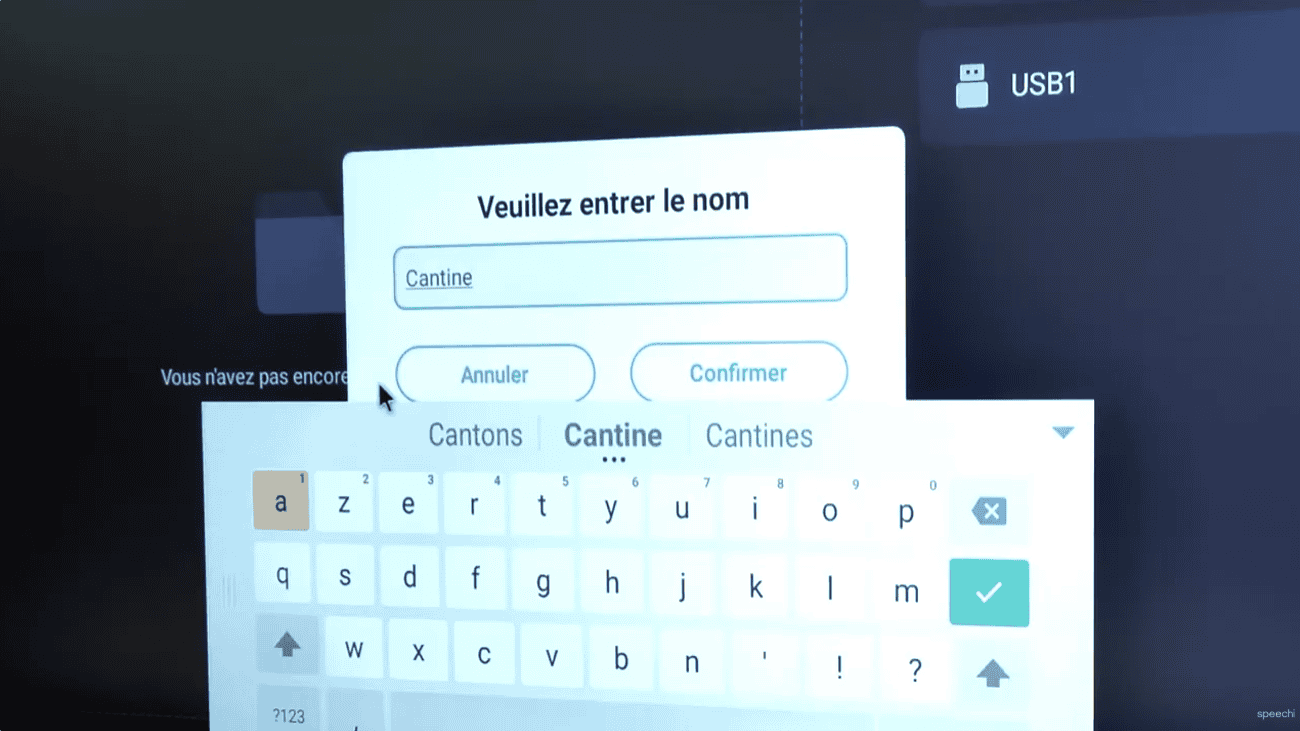
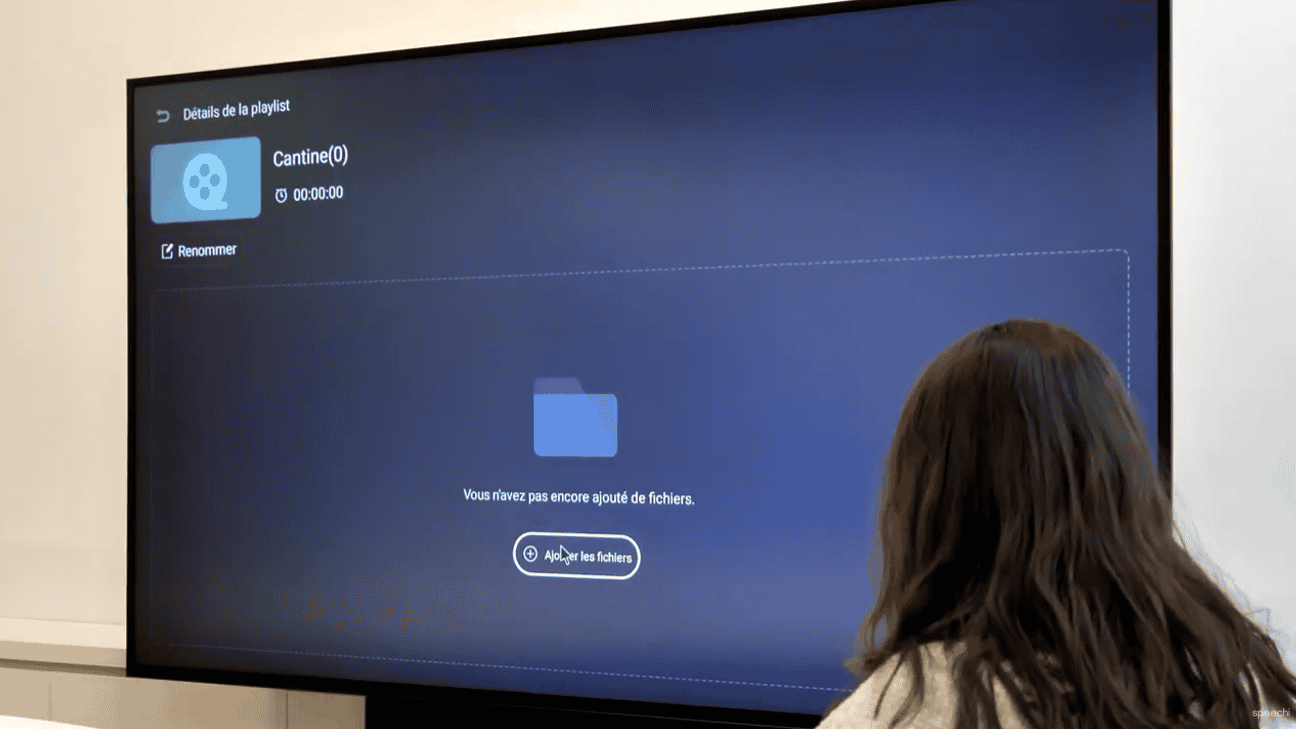
This video already shows you how to proceed. This more detailed tutorial is a chance to walk you through the process step-by-step with helpful screenshots. Let’s get started!
How to Prepare a Broadcast Playlist Using the Built-In Player on the SpeechiDisplay Screen
Before anything else, plug the USB stick containing your files into one of the USB ports on your SpeechiDisplay screen. All the steps can be done:
- either using the remote control, with the directional buttons to navigate, the central button to confirm, and the “Back” button to go back,
- or using a keyboard with a built-in trackpad connected to the screen, as shown in the video (keyboard not included, but available as an optional accessory!).
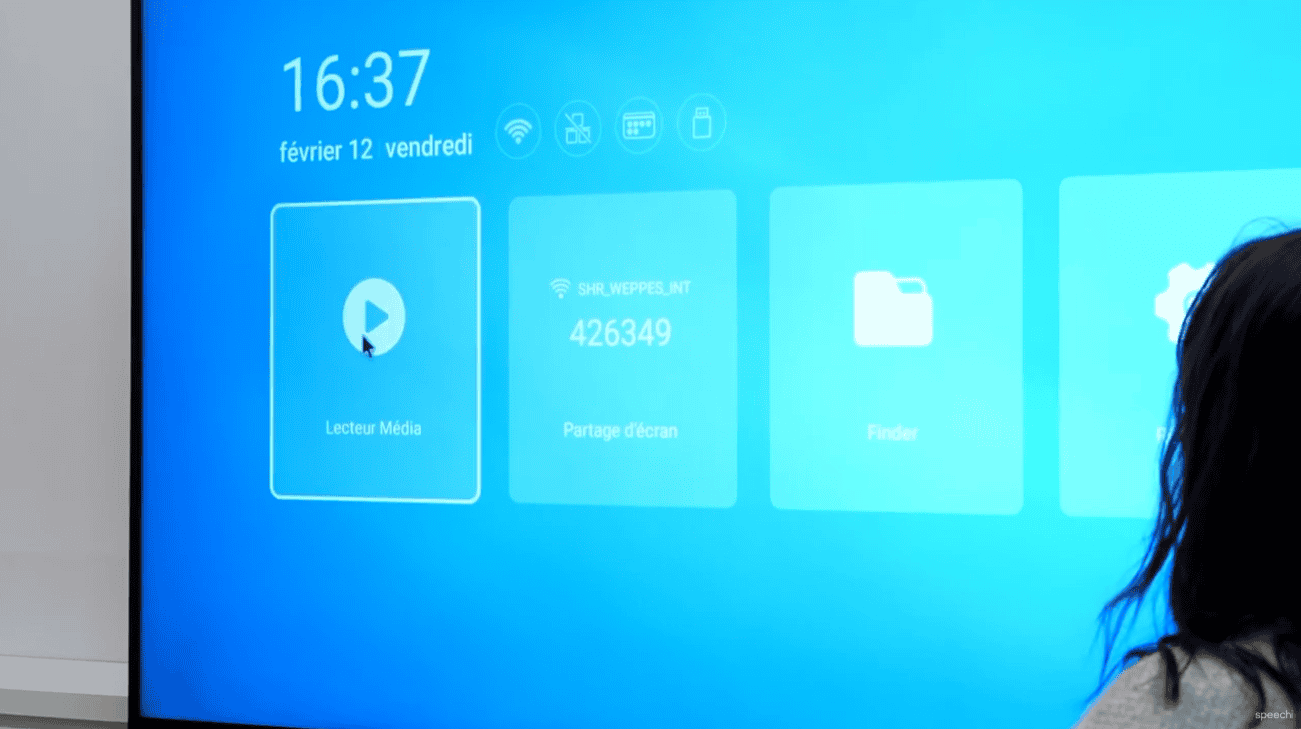
[1] On the home screen, go to the “Media Player” icon using the remote control and confirm your selection.
