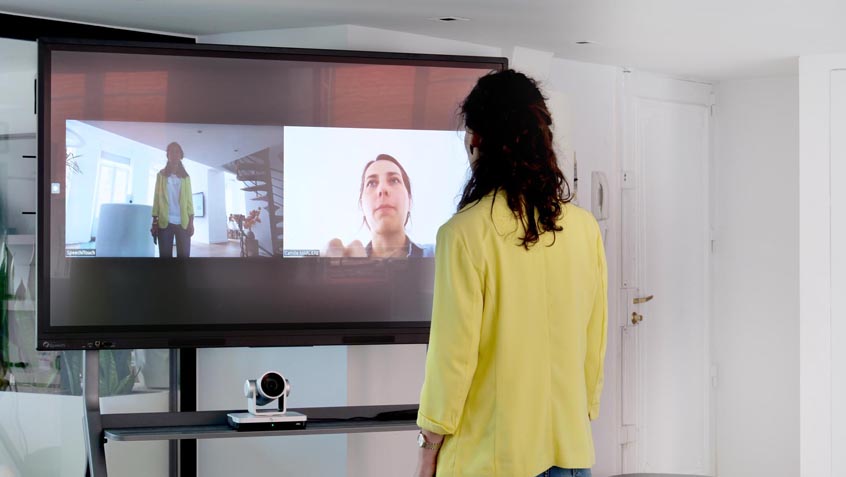
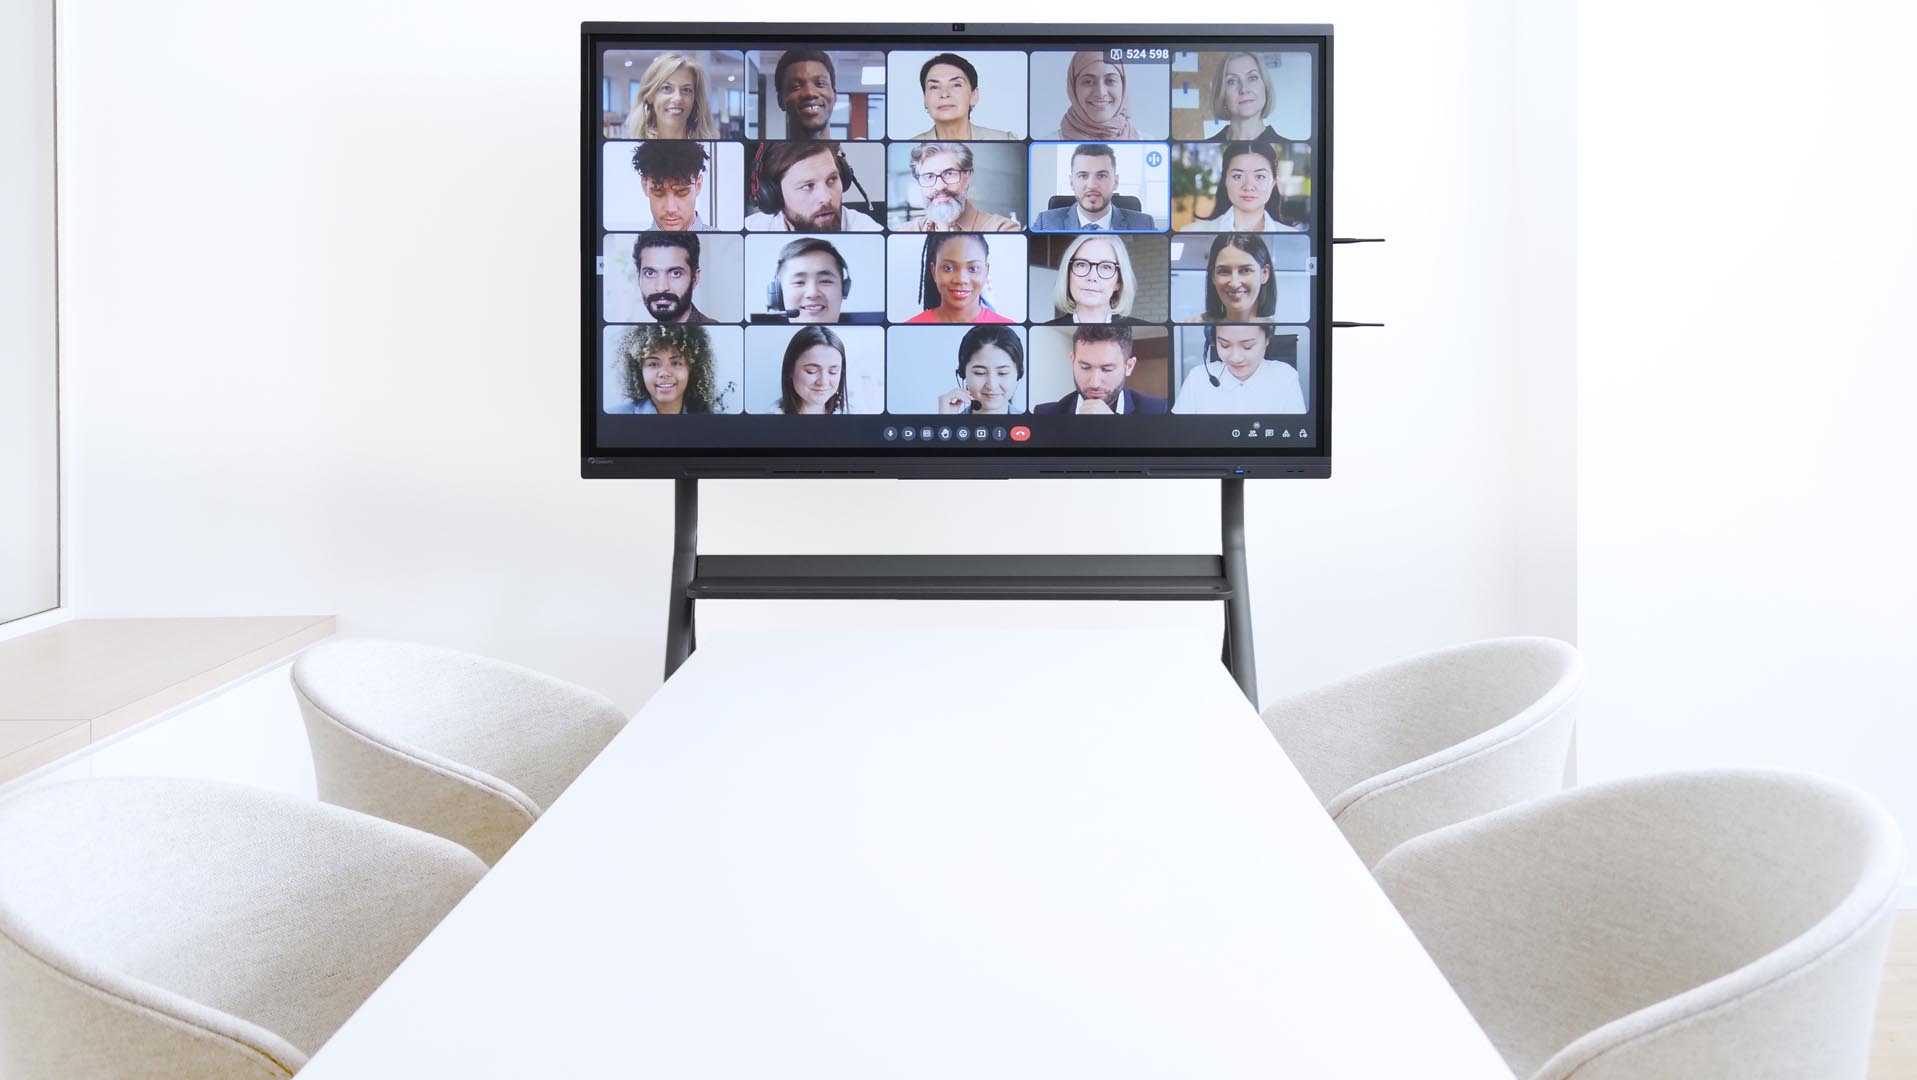
Digital whiteboards are transforming the way we communicate, do business, and teach students – but what are they, and how do they work? Read on to find out more about this technology, and how to use it.
What is a digital whiteboard? A brief definition
A digital whiteboard is a large electronic screen display screen that reacts to the touch of a user’s fingertip or stylus.
It is equipped with computing resources, and can be connected to the internet. It may help to think of a digital whiteboard as a giant version of a tablet, which is designed to be viewed and used by multiple people at once instead of a single person.

Depending on where you source your digital whiteboard from, it may come with specially designed software pre-installed on it. Otherwise, there are many free and paid software programs that are specially designed for digital whiteboards, and fit specific use-cases – for example, brainstorming, presentation templates, and project management.
At Speechi, we design our digital whiteboards to be as simple and easy-to-use as possible. All of our models are turn-key solutions, which means there is no prior configuration or calibration required. Users can simply switch on their display, and start using it.
We also equip our digital whiteboards with Android and Windows user interfaces, which make them intuitive and easy to use for people of all ages and levels of tech expertise.
How to use a digital whiteboard

Switch on your digital whiteboard
Getting started with a digital whiteboard is very similar to using a tablet for the first time – you may be asked to specify a language for your user interface, and once you have selected it, you will be presented with its home screen. This will show a set of basic tools and icons – such as the default web browser, the settings menu, a folder for documents, and a calendar, for example.
If security is a priority for your use-case, we would recommend taking this opportunity to go into your settings menu and set up a password or authentication method.
Connect your digital whiteboard to the internet
In the settings menu, there will be a network settings option, where you can connect your device to your local Wi-Fi.
Simply tap on your network, and enter its password if required. Along with Wi-Fi connection, you will also find options such as Bluetooth enabling, wireless hotspots, and ethernet connections. Once you have connected your display to the internet, a small Wi-Fi icon should appear at the bottom of the screen.
Connect your digital whiteboard to a laptop or computer
If you want to project your laptop or computer’s screen display onto your digital whiteboard, there are two ways to do this.
If you are able to keep your source device nearby, you can use a HDMI cable to connect it to your digital whiteboard. Otherwise, if you would rather keep your source device in a different area of the room, you can connect a wireless transmitter to your source device.
In just one click, this will automatically project your PC or laptop’s display onto the interactive screen. You can then control the display from either your laptop or the digital whiteboard.
If you use multiple sources for your digital whiteboard, you can assign a name to each of them and switch from one to the other as required. You can also connect a keyboard and mouse directly your digital whiteboard via the USB ports at the front of the display.

Access drawing tools via the sidebar
On the left-hand side of your digital whiteboard screen, you will see an expandable sidebar that contains a number of tools, including pen and brush options, an ‘undo’ button, and a button for minimizing or maximizing windows on the screen.
It is worth trying out each of these functions to familiarise yourself with how they work.
Download your favourite tools
Since Speechi digital whiteboards run on Android and Windows operating systems, it is easy to download your favourite tools as apps via your web browser.
Depending on your use case, we would recommend tools like Microsoft Teams and Zoom for videoconferencing.


